Browse by Solutions
Browse by Solutions
How to add the tax code in purchase orders?
Updated on May 8, 2019 05:07AM by Admin
A Purchase Order once issued, becomes a contract to deliver the products at the specified price. Once the order is placed, the Item tax is included and the supplier is obligated to accept the Purchase Order with the tax or reject the entire Purchase Order.
The taxes created from the Invoices and the Estimates are included in the PO creation page. When you create the Purchase Order for your Supplier, you can start typing the item name as it auto-populates the item's general information including item tax. You are allowed to select the tax code available in the dropdown manually. You can also customize the Tax Code if it has to be a header-level field or a line-level field.
Customizing the position of the Tax Code
- Login to your Apptivo account and select the Purchase Orders App from the universal navigation bar.
- Navigate to "More Options(...) → Settings" from the header bar.
 |
- Choose “Taxes” from the “Purchase Orders” drop-down.
 |
- If “Single Multi-Rate Taxes,” select “Capture Tax Codes” radio button choosing the place where you would like to place the Tax Code.
 |
Steps to add tax code in PO
- Log in and access the Purchase Orders App from the universal navigation menu bar.
- Click on "Create PO" to create a purchase order.
- Fill in the needed information for creating PO.
- Select the item, as it auto-populates other general fields.
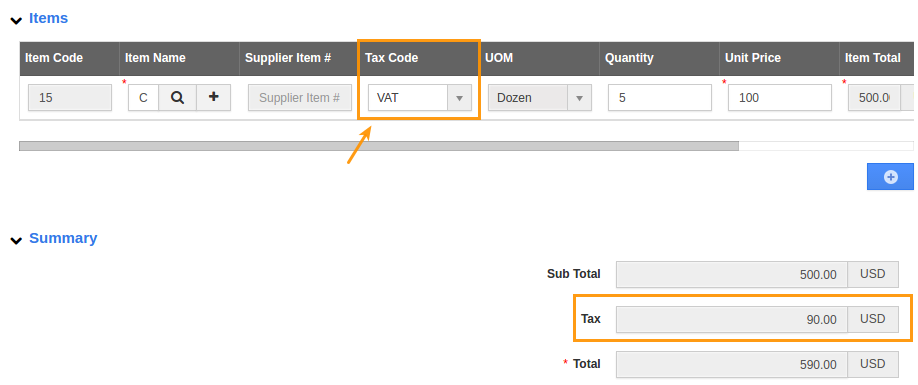
- Select a specific tax code from drop down. (Note: These taxes which are created and enabled from Invoices App and Estimates App).

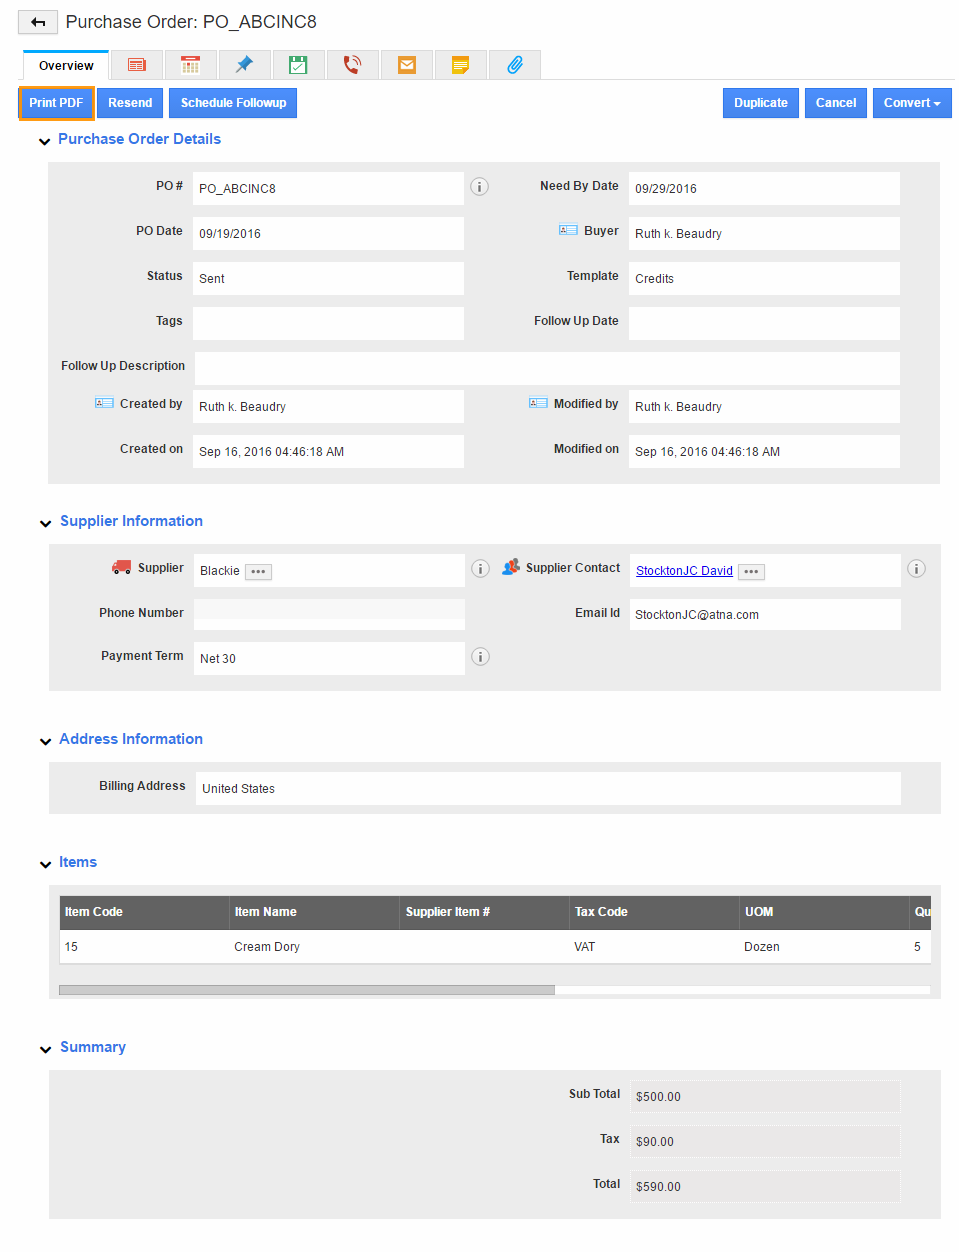
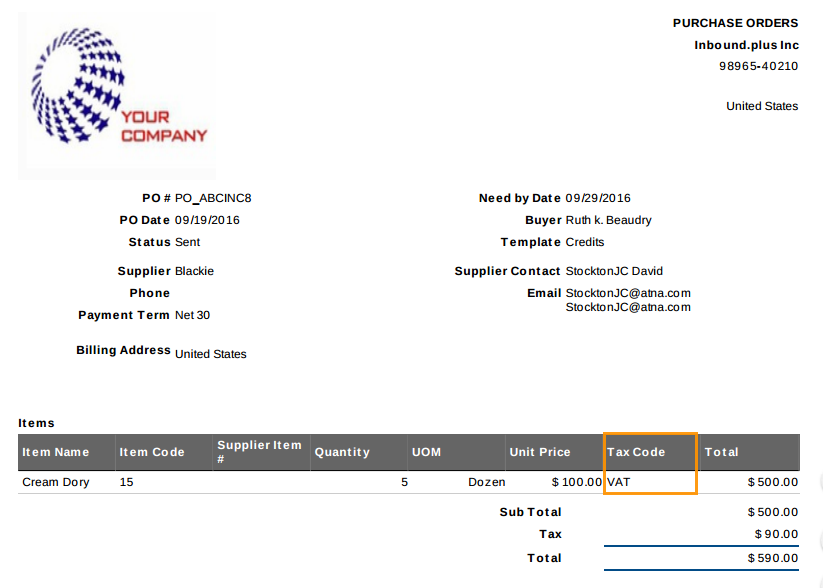
- Create PO and download the PDF format of PO to view tax code applied.

- You can view the tax code applied as shown in the image below:

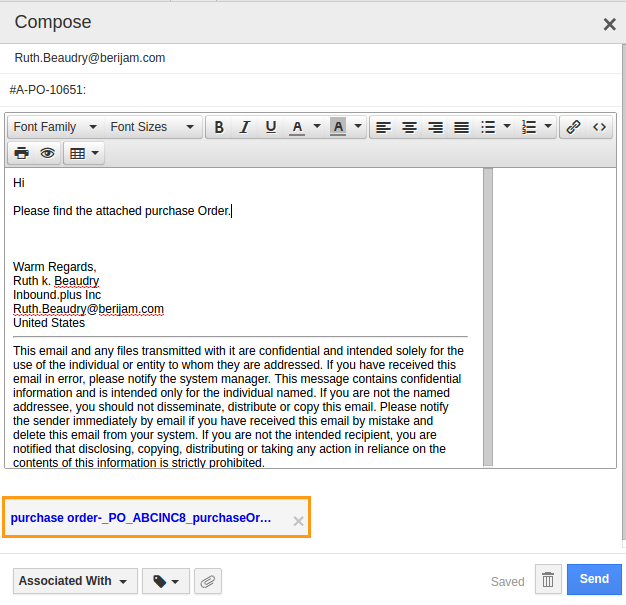
- When you send an email to the supplier, you will attach the PDF, if needed.


