Browse by Solutions
Browse by Solutions
How do I Create a Work Order?
Updated on September 30, 2024 03:40AM by Admin
The Work Orders (WO) application allows you to easily manage and dispatch resources to address customer problems on-site. It also provides a method for employees to track the hours & products used to resolve each work order.
Let's create a Work Order.
Steps to Create a Work Order
- Log in and access Work orders app from your universal navigation menu bar.
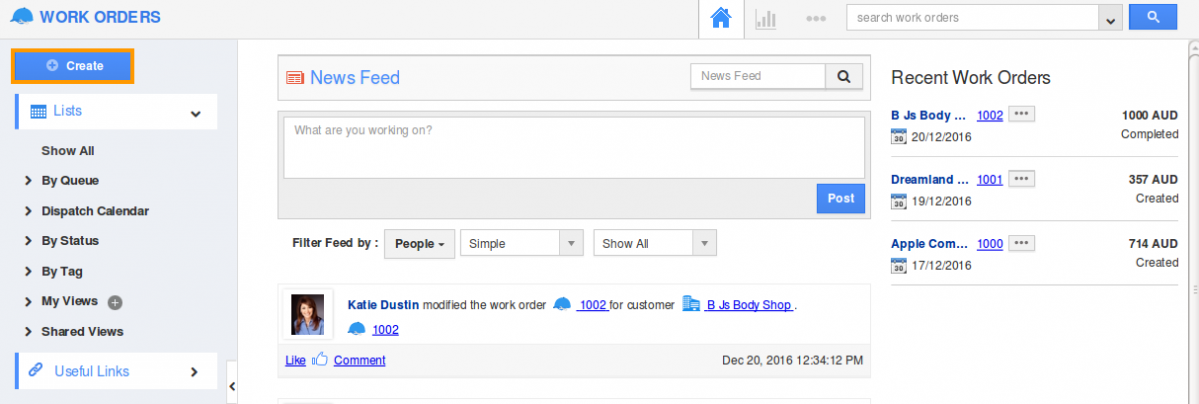
- Click on “Create” button from the left navigation panel.

- Select whether to create work order for items or services or both.
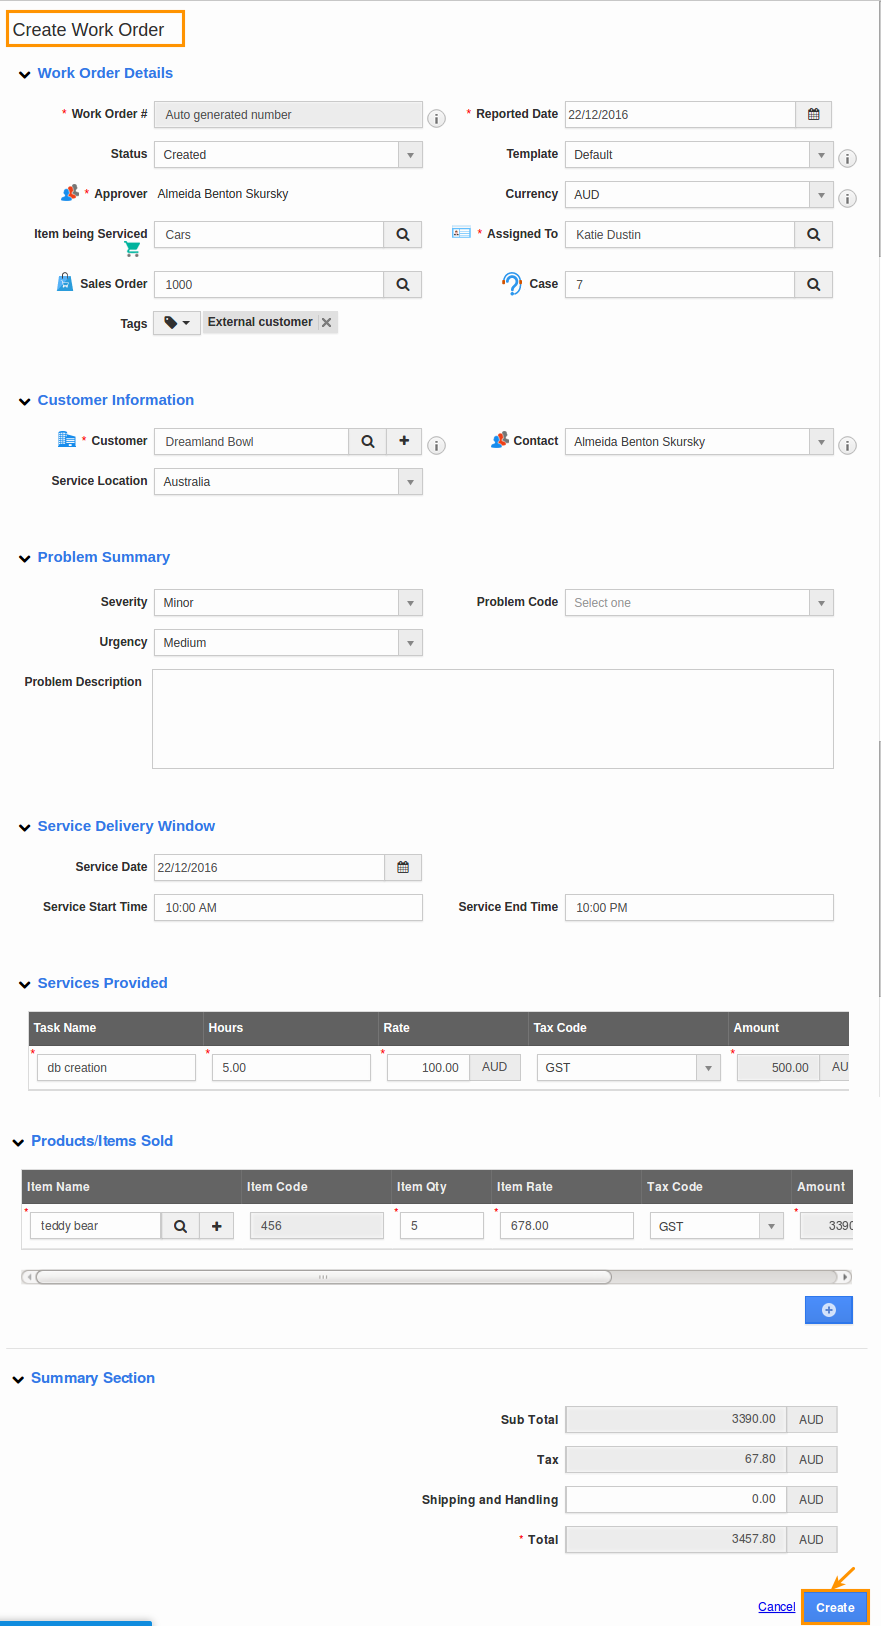
- You can view "Create" page, in which provide:
- Customer - Select customer by search.
- Sales order Approver - Select sales order approver.
- Work Order # - Work order number.
- Item Being Serviced - Include items to be serviced.
- Case Assigned To - Case assigned to employee.
- Reported Date - Problem reported date.
- Status - Status of the work order.
- Template - Template to be included in work order.
- Service Location - Customer's location (Country, state).
- Problem Summary - Provide summary of the problem.
- Service Delivery Window - Service date, start and end time.
- Services Provided - Specify provided services to customer.
- Product/Item Sold - Search product/item to be sold to customer.

- Click on “Create” button to complete.
Related Links
Flag Question
Please explain why you are flagging this content (spam, duplicate question, inappropriate language, etc):

