Browse by Solutions
Browse by Solutions
How do I Create PDF Templates in Work Orders?
Updated on January 3, 2018 08:41PM by Admin
Work Orders App allows you to create your own custom templates which will be used to generate PDF versions of your Work Orders. By default, Work Orders has sections for Tasks, Products/Item List Sold, Change Orders.
You cannot remove these standard sections from PDF. However, these sections will not be displayed in PDF format if it does not have data on it. When creating work orders you can fill up these sections to view in PDF.
Lets go through the following steps.
Steps to Create PDF Templates
- Log in and access Work Orders App from your universal navigation menu bar.
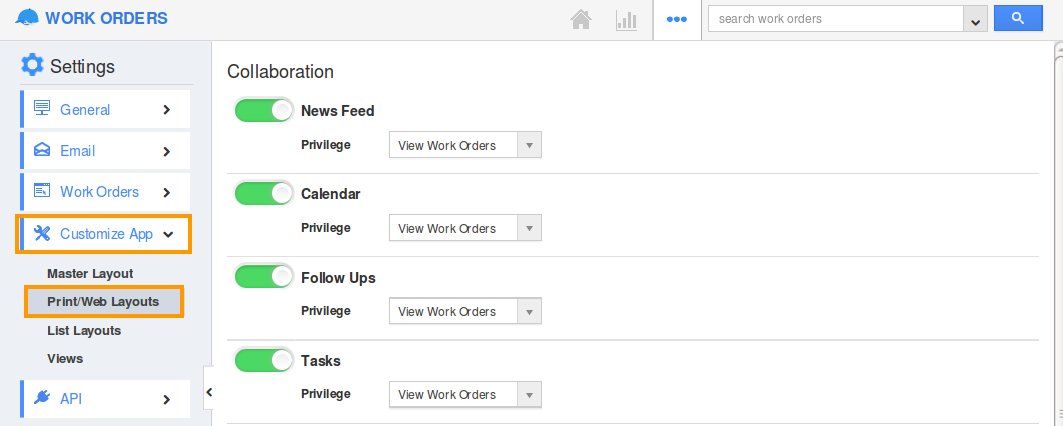
- Click on "More(...)" icon and select "Settings" located at the app header bar.

- Click on "Print/Web Layouts" under "Customize App" from left navigation panel.
- Select the “PDF Templates” and click on “Create” drop down.
- You can create a PDF Template in three ways:
- Start with a blank layout.
- Start with the default layout.
- Copy from another layout.
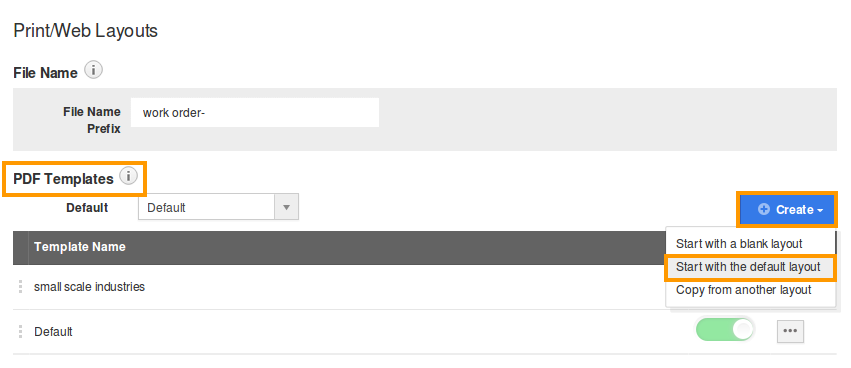
- For instance: Click on Start with a default layout.
- Provide a name for the template and click on “Next” button.

- Now, you can view the following:
There are two editors available. 1.Drag & Drop editor and 2. JSON (JavaScript Object Notation, its a lightweight data-interchange format.) editor. If you have a good knowledge in JSON editor you can customize the template using JSON. Drag & Drop is simple and easy to use. It has five tabs - Sections, Common Attributes, Business Attributes, Customers Attributes, Work Orders Attributes.

If you wish to include some standard text, such as company name, company policies or other information to be displayed on the Work Order PDF, you can add custom text areas. Using these buttons, select the text area with 1,2,3 or 4 columns. You can also insert “Tables” if needed. Clicking this button will create a text area in your Work Order layout.
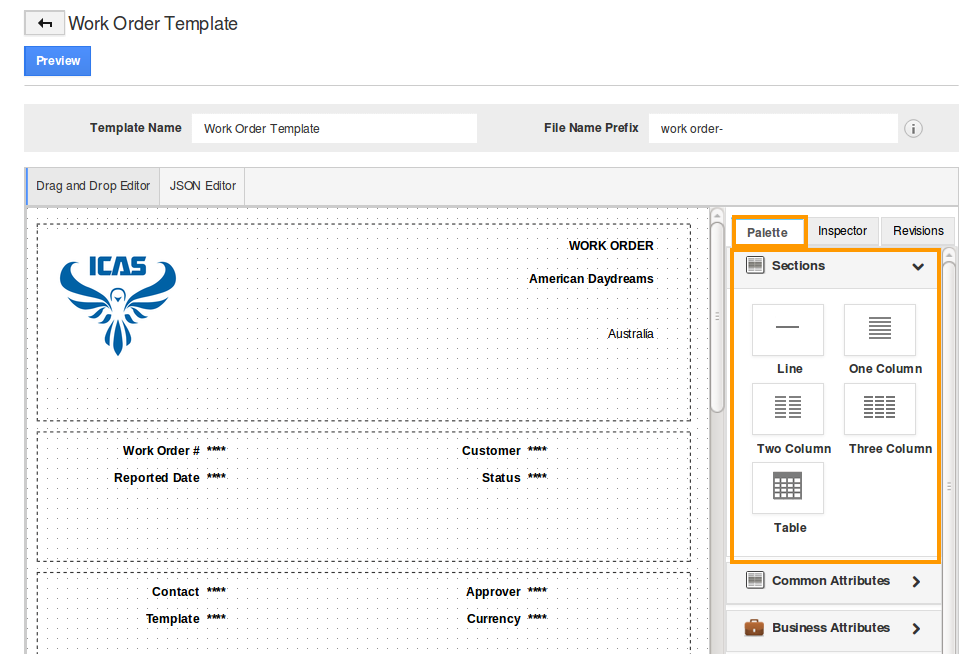
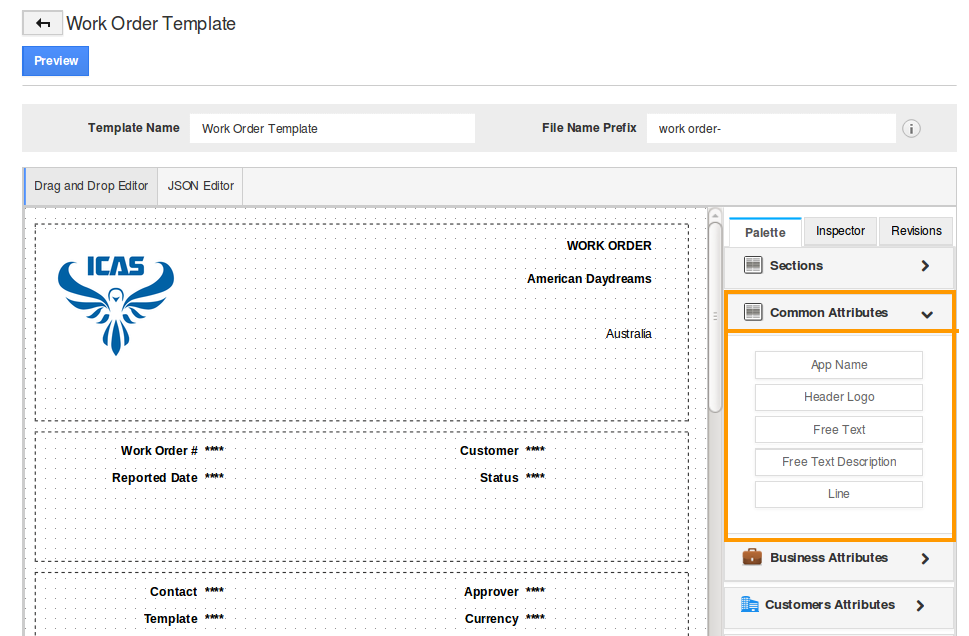
The next tab is the Common Attributes, using which the App Name, Header Logo, Free Text and Lines can be inserted. Just add and drop the buttons into the newly added Work Order sections.
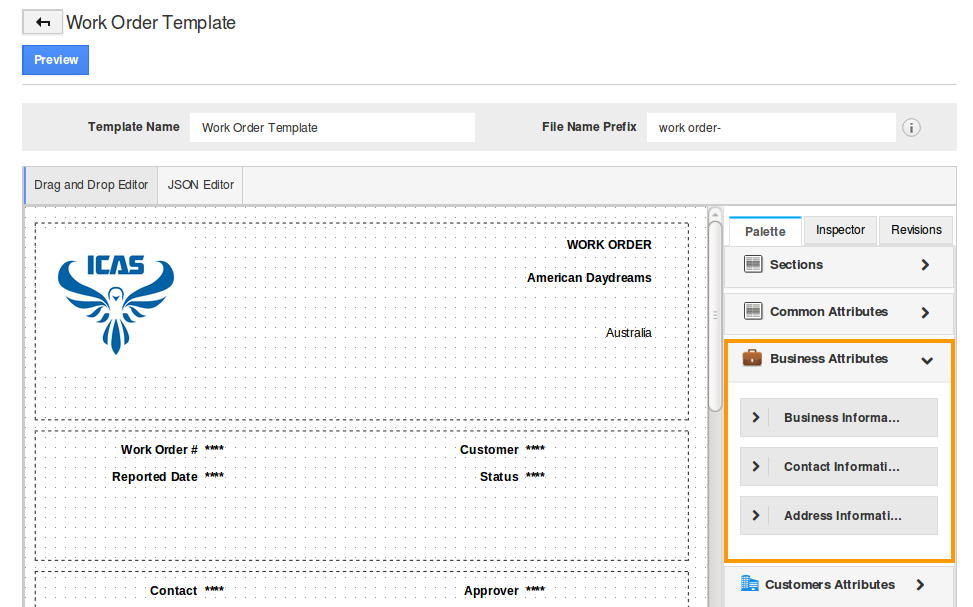
The next is the Business Attributes tab, where business related attributes like business logo, phone & address can be inserted. Just drag and drop the buttons into the newly added Work Order section.
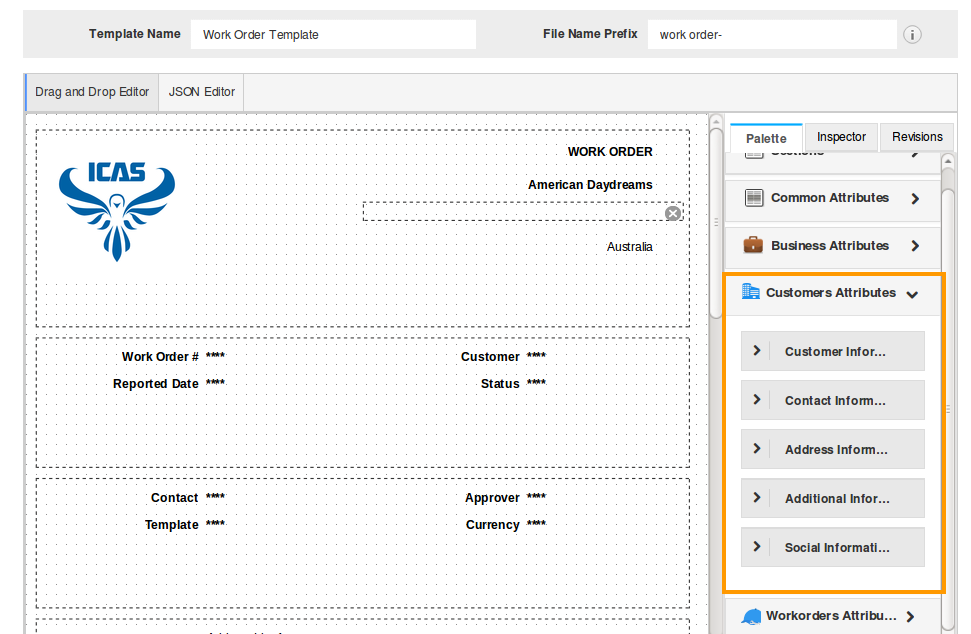
The next tab is the Customers Attributes; it has more options related to the customer information. Use the same drag and drop process into your newly added Work Order sections.
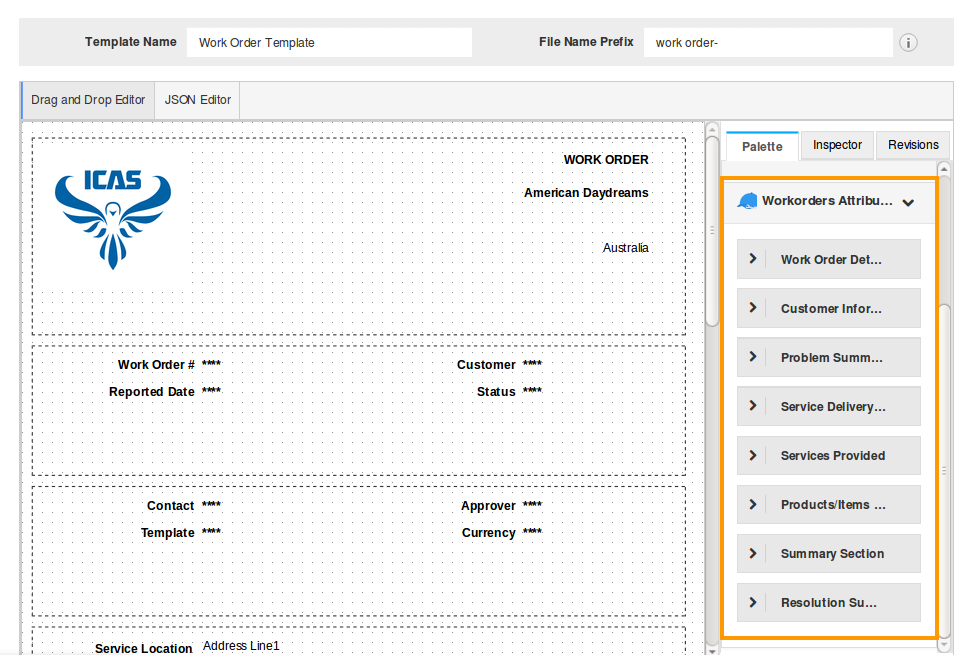
The last tab is the Work Orders, which consists of more attributes related to work orders. You can create custom attributes at the header level and the footer level, and these are collected in the PDF templates. Use the same drag and drop process into your newly added Work Order section.
Once all the attributes are arranged properly, you can click on the “Preview” button, to see how your Work Order PDF will look.
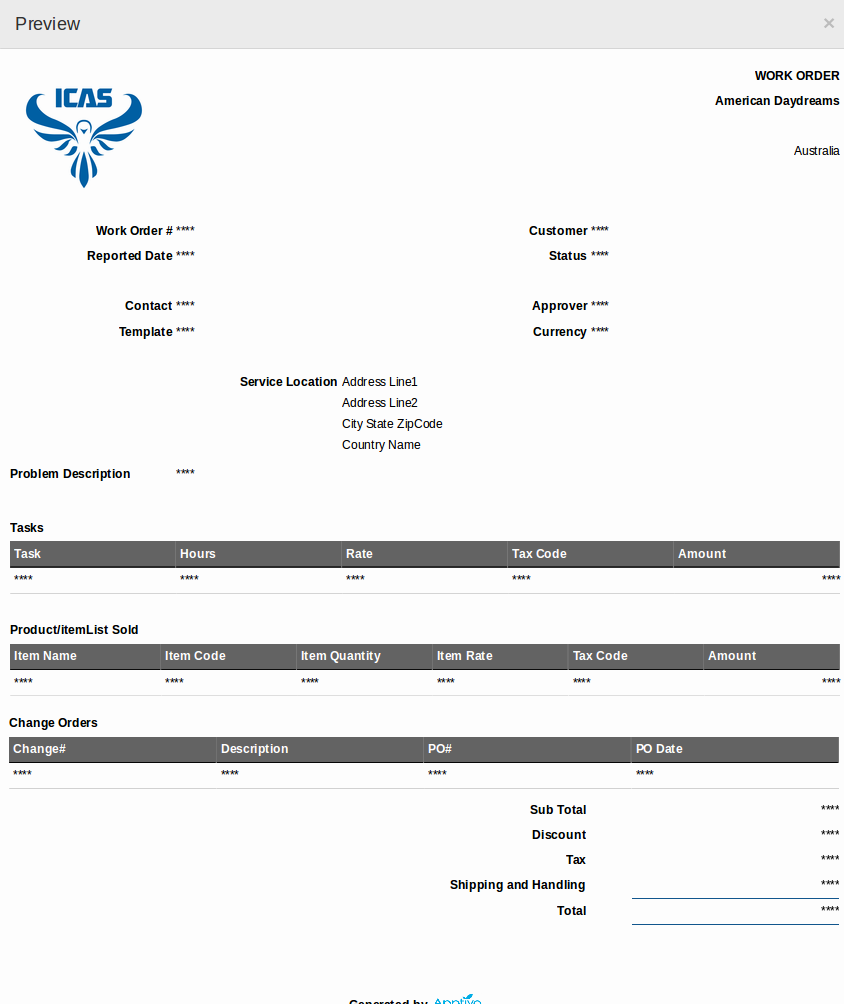
If you are happy with PDF format, then click on “Save” button to save the changes. This will save the template and send you back to the Settings page, with the available templates.
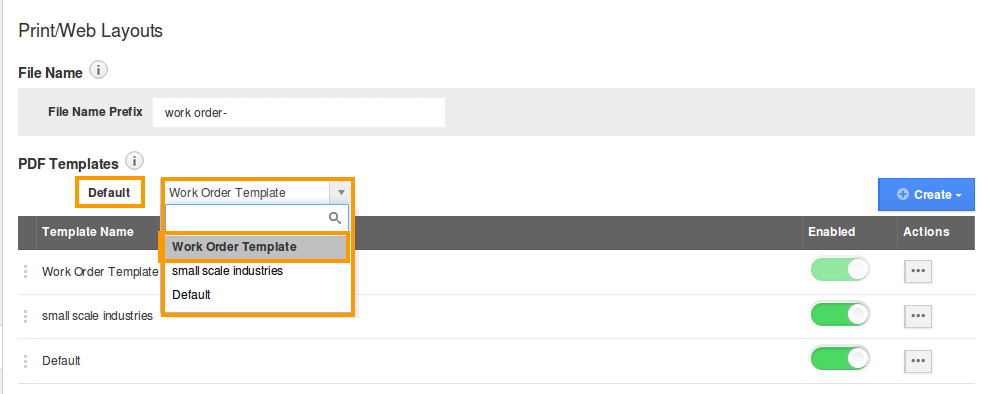
To identify a default template that will be applied to all Work Orders, select the preferred template from the “Default” drop down.
