Browse by Solutions
Browse by Solutions
How do I Generate Historical Resolution Lead Times Report?
Updated on December 28, 2017 05:29AM by Admin
Cases app has many default standard reports. It allows you to generate "Historical Resolution Leads Times" report. These reports explain how long it took to resolve the cases in a given period.
The following steps will help to generate Historical data report.
Steps to Generate Historical Resolution Lead Times
- Log in and access Cases App from your universal navigation menu bar.
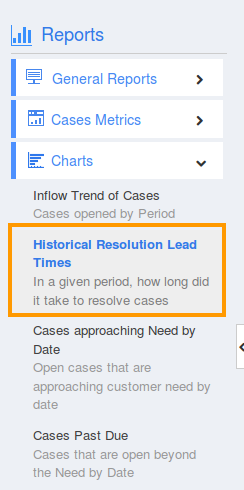
- Click on “Reports”
 icon located at the app header bar.
- Click on “Historical Resolution Lead Times” from “Charts” drop down in left navigation panel.

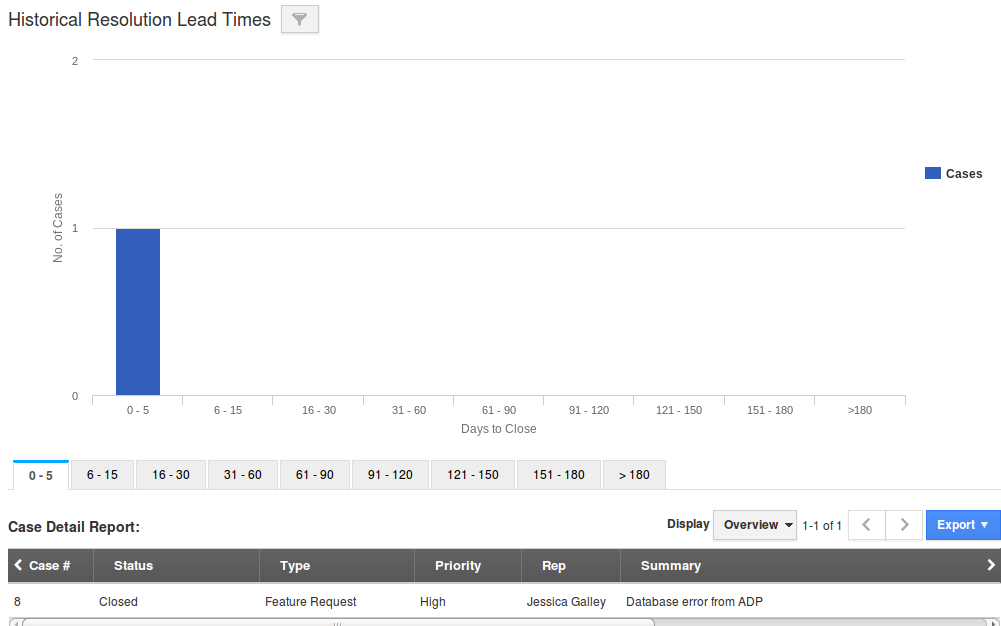
- You can view historical resolution lead times chart in the dashboard.
- Click on filter icon and provide the following:
- Customer Name - Name of the customer.
- Assigned to - Select the person to whom the case is assigned.
- Priority - Select the priority of the case.
- Start date - Select the start date.
- End date - Select the end date.
- Click on "View Report" to view the data.

- Click on particular “Days to Close” tab to view case report details in the dashboard. For instance: > 180
- Click on “Export” button to view historical resolution lead times report in spreadsheet.

Related Links:
Flag Question
Please explain why you are flagging this content (spam, duplicate question, inappropriate language, etc):

