Browse by Solutions
Browse by Solutions
How do I convert contact to a customer?
Updated on July 17, 2017 11:41PM by Admin
- Converting a contact to customer allows you to edit and update records in the customers apps.
- However, when you convert a contact, the original record will remain intact and is accessible from Contacts App.
- A copy of contact information appears in Customers App and created as a new customer. This is because, to create customer with the same contact information, you can make use of this conversion feature.
- Please note that you can edit the customer record only in the Customers App while you will not be ableto make changes in Contacts App.
- Log in and access Contacts App from your universal navigation menu bar.
- Create a new contact or select an existing contact to be converted.

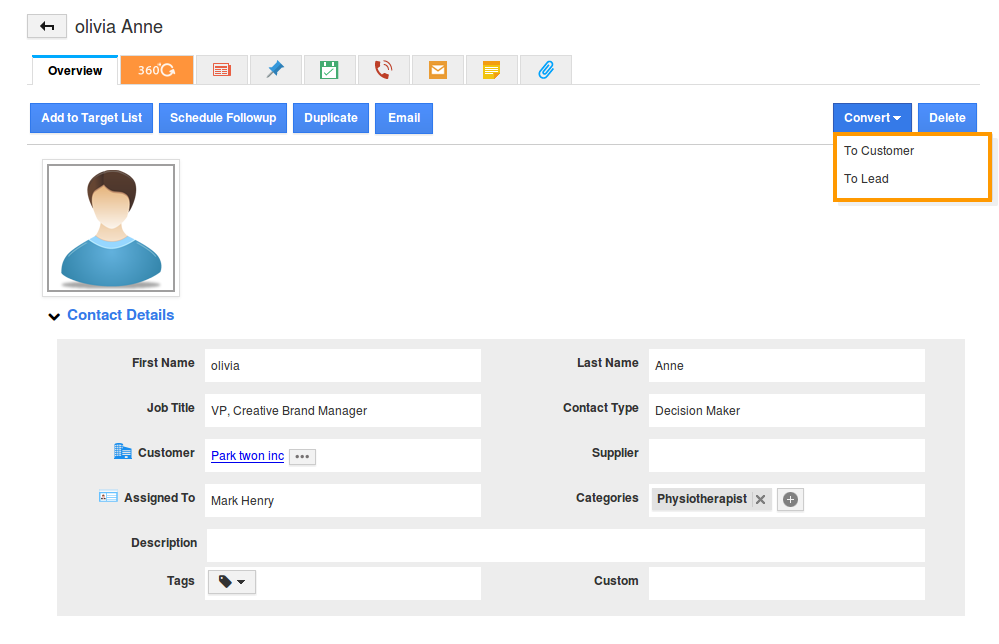
- Click on “Convert” drop down menu.
- Choose “Customer” option to convert.
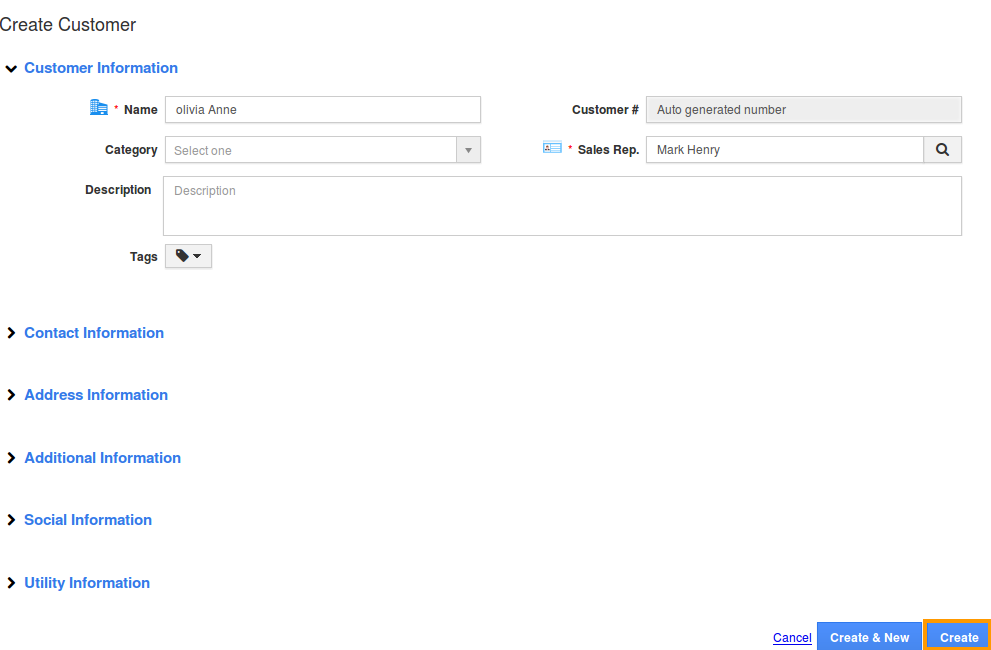
- In customer creation page (Customers App), fill in the following details:

Customer Field
Description
Pre populated from Contact?
Name
Name of the customer.
Yes
Customer#
This is an auto generated or manually entered number to identify customer.
No
Category
Select a category from predefined list.
No
Sales Rep
Name of an Employee.
Yes
Skype
Skype id of customer.
No
Email
Email address of customer.
Yes
Phone
Phone number of the customer.
Yes
Mobile
Mobile number of customer.
Yes
Fax
Fax number of the customer.
No
Territory
Territory of the customer.
Yes
Market
Market of the customer.
Yes
Segment
Segment of the customer.
Yes
- Additional information are primary details of the customer.
- Address Information includes billing and shipping address of customer.
- Description – A short summary about customer.
- Click on “Create” button to complete.
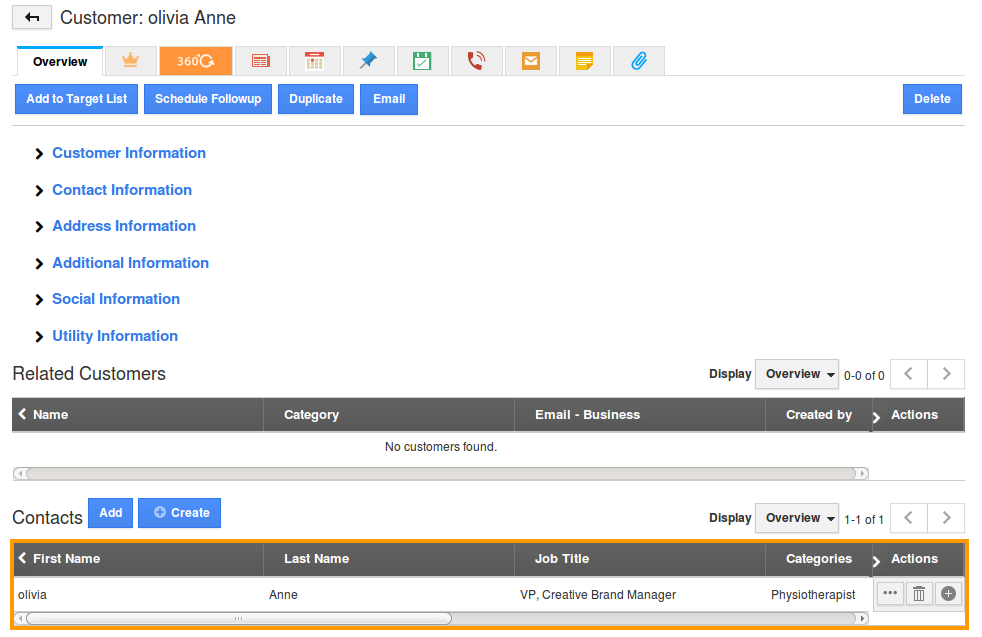
- The customer information will be found seen.
The contact that was the source for this customer will be automatically associated to this customer.
Related Links
Read more about:

