Browse by Solutions
Browse by Solutions
How do I Create a new Contact?
Updated on January 23, 2018 05:01AM by Admin
Contacts app allows you to create new Contacts using create contact option. This is an important option in this object. When a marketing team passes on the new contact details to the sales team, it has to be entered with utmost care, as it a potential lead. Only those with the create privilege can create a new contacts.
Steps to create contact
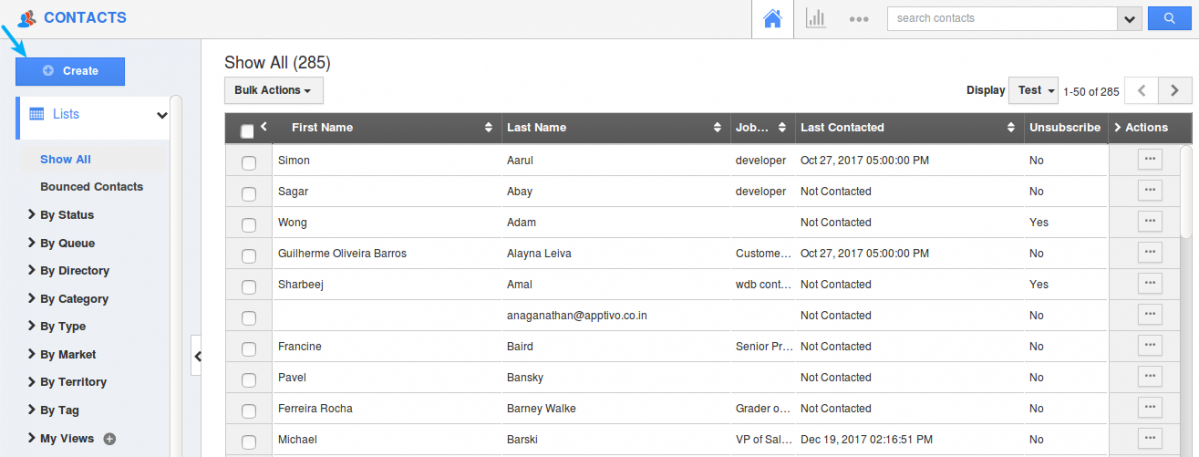
- Log in and access Contacts App from your universal navigation menu bar.
- Click on "Create" button from the left navigation panel.

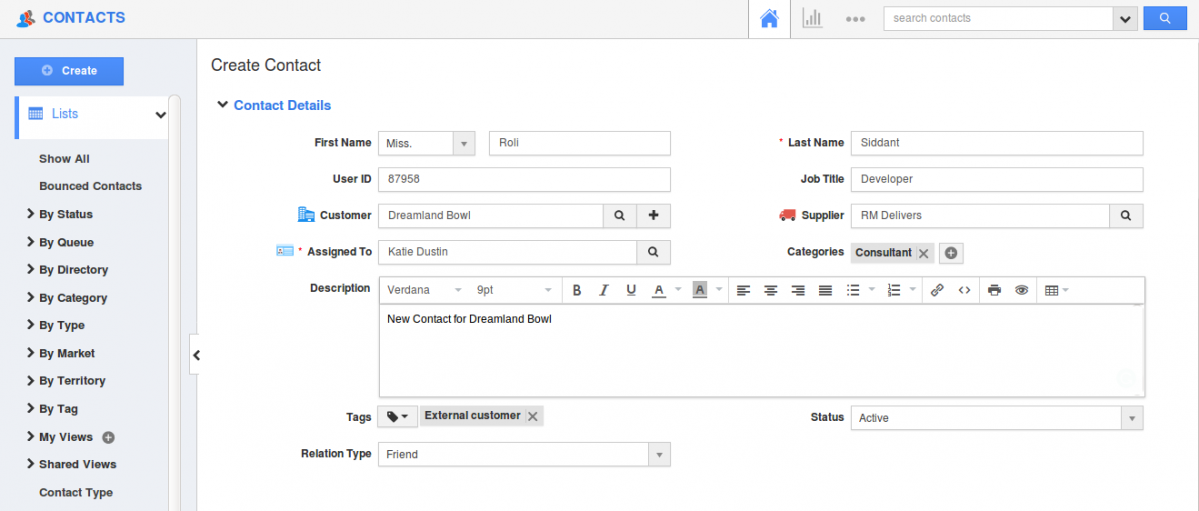
- Fill in the following information:
- First Name - First name of the Contact.
- Last Name - Last name of the Contact.
- Job Title - Name of the job..
- Contact Type - Choose option for contact.
- Customer - Select Customer from a search option or create new.
- Supplier - Select Supplier from a search option.
- Referred by - Select name of the referrer.
- Assigned to - Select an employee/team.
- Categories - Select Categories from a search option.
- Description - Description of the contact.
- Tags - Select existing tag/ Add new tags.
- Status - Select the status of a contact or add new status.
- Relation Type - Select the relation type with the Customer.

Contact Information - Phone - Phone number for the contact.
- Email - Email id for the contact.
- Skype - Skype id for the contact.

Address Information - Address Type - Select address type from a predefined list. Enter other address information like city, state etc.
- Click on “Add More Address” to add more addresses.

Additional Information - Phonetic Name - The Phonetic name of the contact.
- NickName - Nickname of the contact.
- Date of Birth - Date of birth of the contact.
- Market - Select one/Add new.
- Segment - Select from predefined list.
- Territory - Select a territory from a predefined list.
- Industry - Select name of the industry.

Hobbies & Interests - Hobbies - Hobbies of the contact.
- Food - Favourite food of the contact.

Social Information - Facebook - Facebook id.
- Twitter - Twitter id.
- LinkedIn - LinkedIn id.
- Website - Website url.

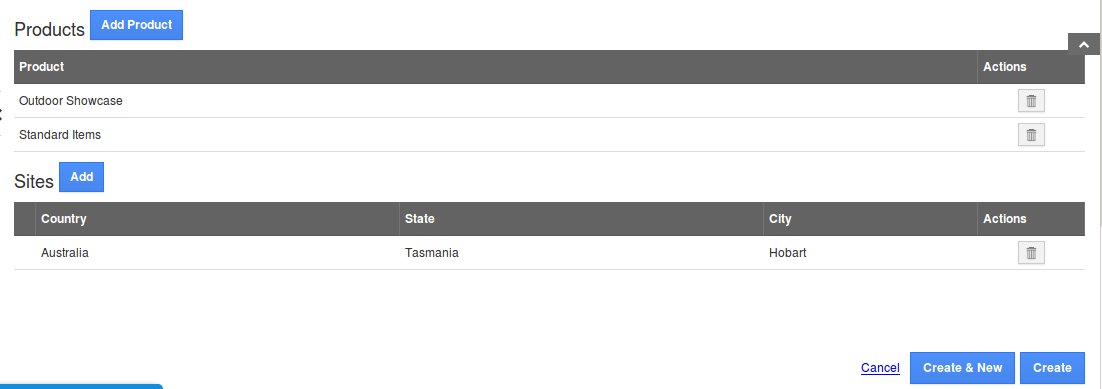
- You can add products and sites for your creating contact

- Click on "Create" button to complete.
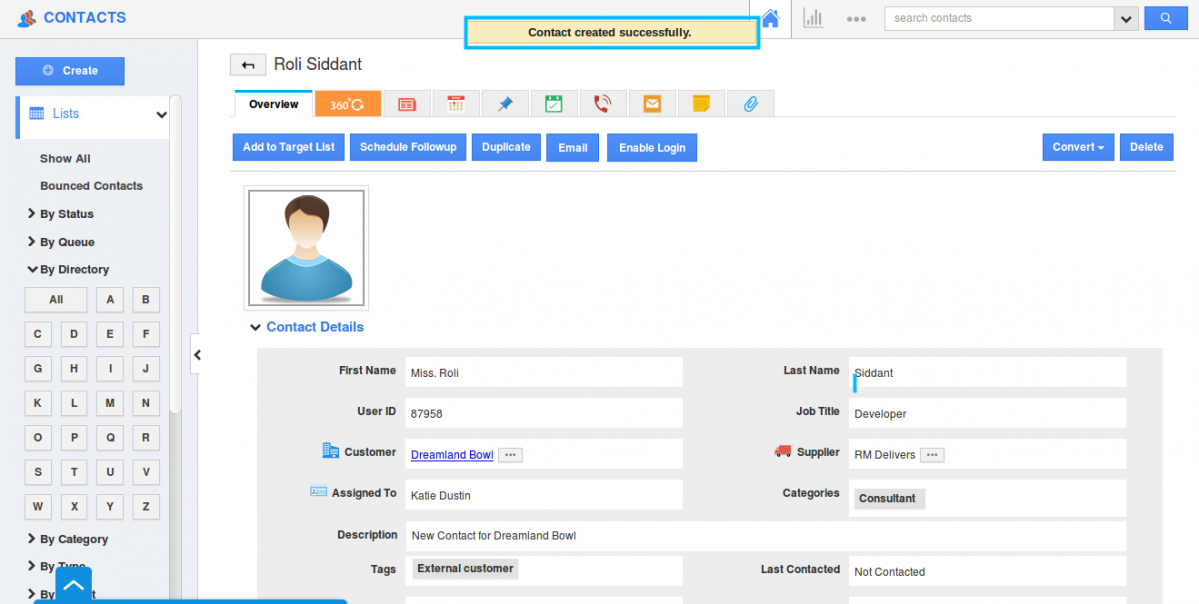
- You can view the created contact as shown in the image below:

Related Links:
Flag Question
Please explain why you are flagging this content (spam, duplicate question, inappropriate language, etc):

