Browse by Solutions
Browse by Solutions
How do I Create my Own Custom PDF Template for Invoices?
Updated on October 7, 2024 11:33PM by Admin
Invoices App offers a great new tool that allows you to create your own custom templates which will be used to generate PDF versions of your invoices. By default, Invoices App has sections for Tasks, Projects, Items, Timesheets, Work Orders Milestone and delayed invoices. You cannot remove these standard sections from PDF, but these sections will not be displayed in PDF if it does not have data on it. When creating invoices you can fill up these sections to view in PDF.
Steps to Create a New PDF Template
- Log in and access Invoices App from your universal navigation menu bar.
- Click on "More" icon and select "Settings" located in the app header bar.

- Click on "Customize App" drop-down and select "Print/Web Layouts" from the left navigation panel.
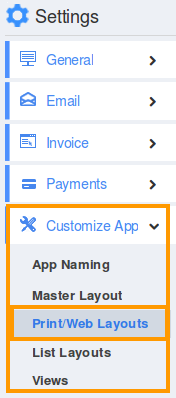
- Select the "PDF Templates" and click on "Create" button.

- Provide a name for the template and click on "Next".

You can view the following:
There are two editors available, Drag & Drop and JSON editor. If you have a good knowledge in JSON editor you can customize template using JSON. Drag & Drop is simple and easy to use; it has four tabs, Sections, Business attributes, Invoice attributes and Customer attributes.
If you wish to include some standard text, such as a company slogan, company policies, or other information to be displayed on the invoice, you can add custom text areas. Using the buttons, select whether you’d like a text area with 1, 2, or 3 columns. Clicking this button will create a text area in your invoice layout.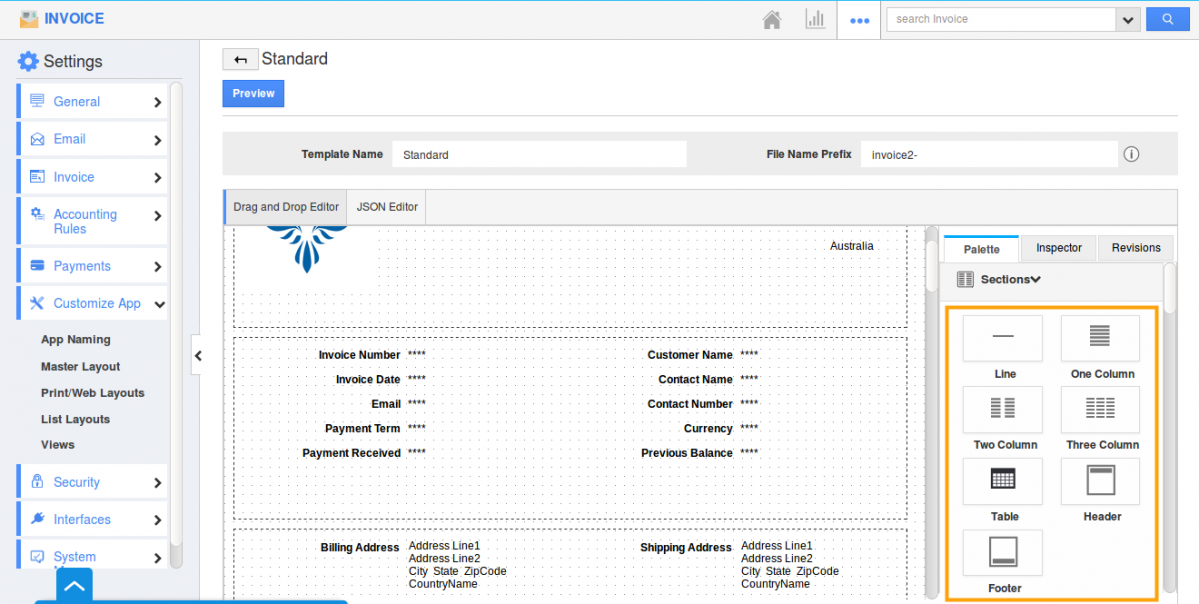
The next tab is Common Attributes attributes, just drag and drop the buttons into your newly added Invoice sections. Buttons, Free text description, Free text, Line, Header Logo and App name can be added. 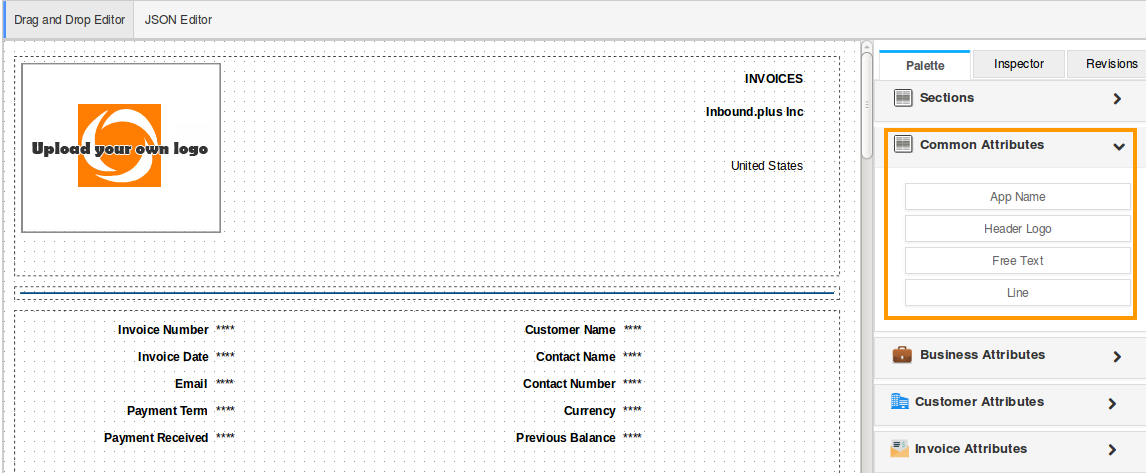
The next tab is Business attributes, it has more buttons related to your business related information. Use the same drag and drop process into your newly added invoice sections, you can also rename them if needed.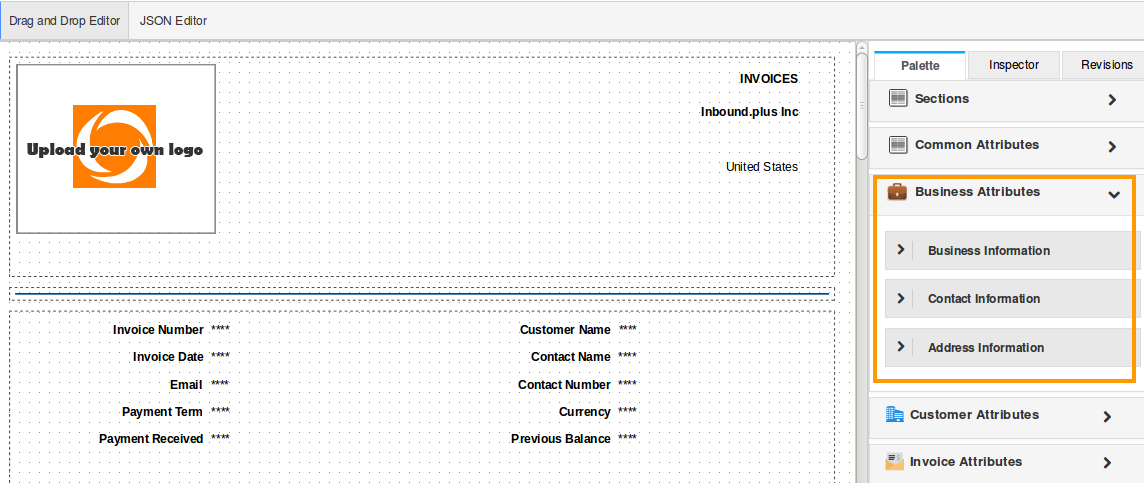
The next tab is Customer Attributes, it has more buttons related to your customer related information. Each business has some unique details. Use the same drag and drop process in to your newly added invoice sections.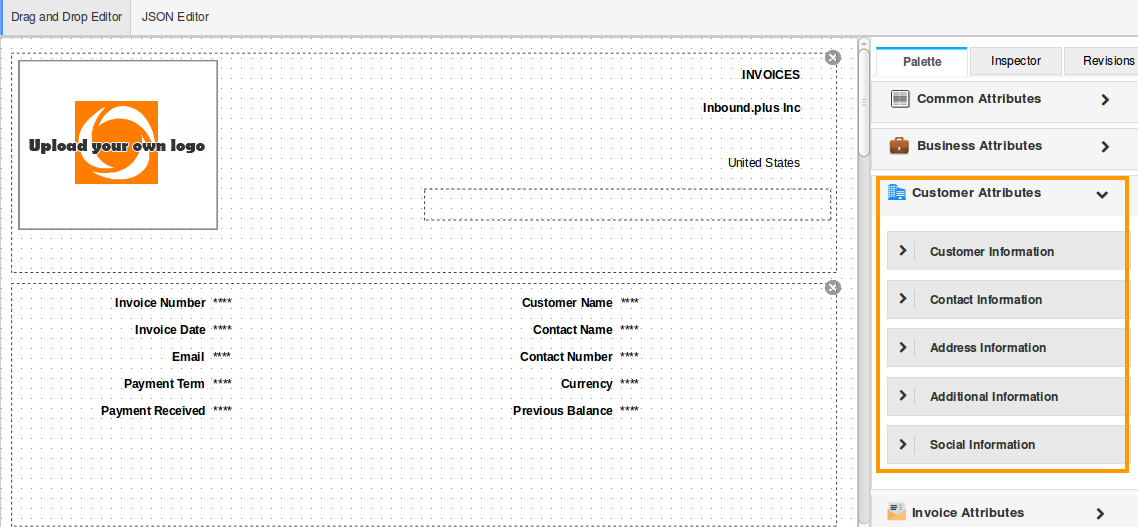
The next tab is Invoices Attributes, you can create invoice attributes and these attributes are collected in the PDF templates which make you easy to handle the whole attributes panel in one format. You can customize the label name, add margins and borders. Line spacing and padding can also be done.
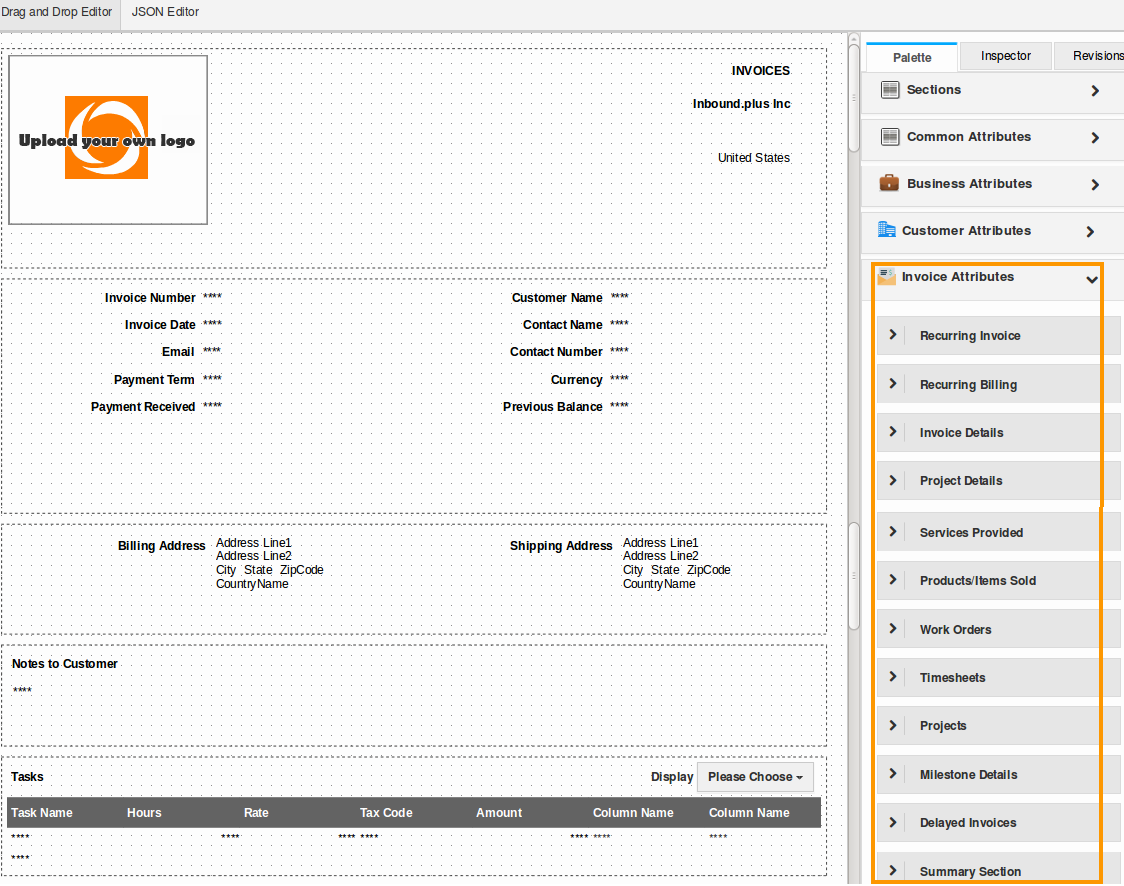
Once all of the proper information and components are present, it’s time to arrange them properly on the invoice itself. Doing so is simple, as you can just click and drag components to move them around the page. Let’s take that text field at move it up to the top, along with the list of tasks for the invoice.
You can click on "Preview" button to see how the invoice will look.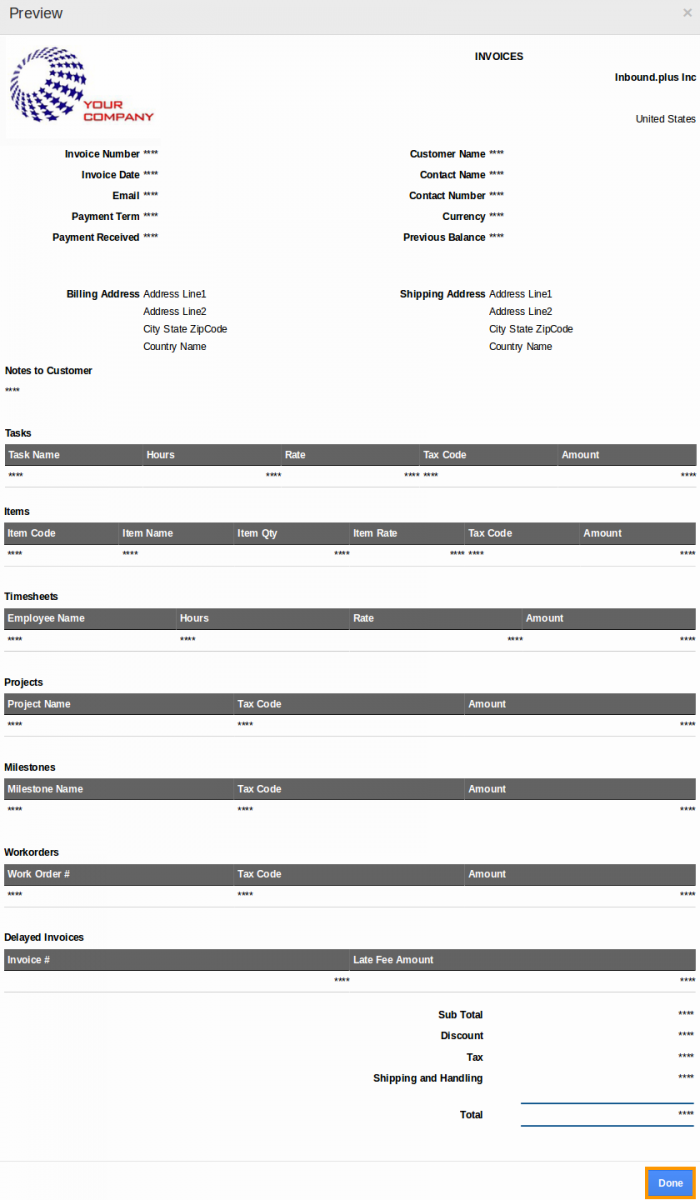
If you are happy with this invoice, click on “Done” in the bottom right corner. This will save the template and send you back to the settings page with the template available.
To identify a default template that will be applied to all Invoices, click on "Default" drop down to pick your selection.
Related Links
Rename field captions | Change column headings text | Create Custom Attributes | Add Custom Attributes in invoice lines. | Build PDF templates using custom attributes | Build PDF templates using custom attributes in invoices| Custom attributes in printed PDF | How to the setup Invoices Tax cod for Slovak Republic?

