Browse by Solutions
Browse by Solutions
How do I Create Category in Contacts App?
Updated on June 4, 2018 04:59AM by Admin
By default, there are a few categories already available in the Apptivo Contacts App. However, if you want to add a few more that is also possible while entering the details of a new contact. If you have existing records and you want to update the category that is also possible.
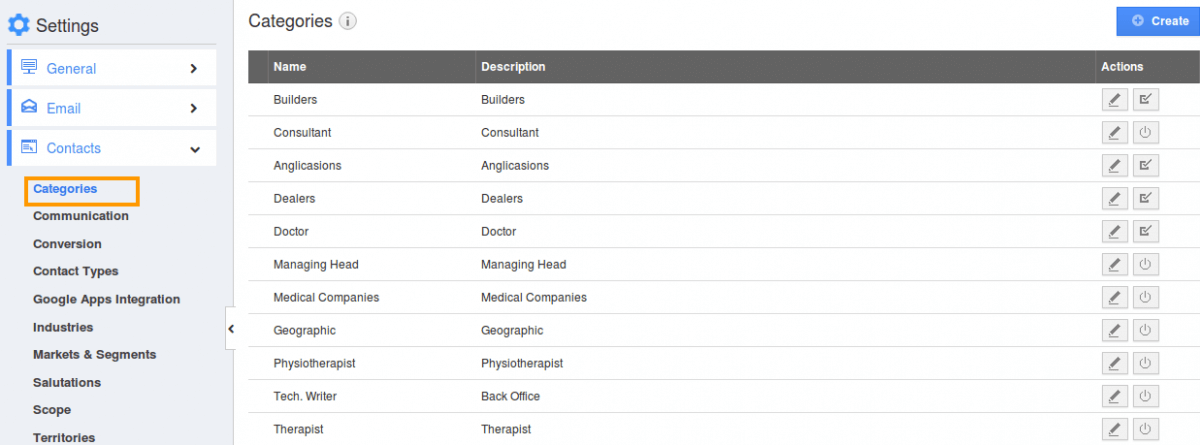
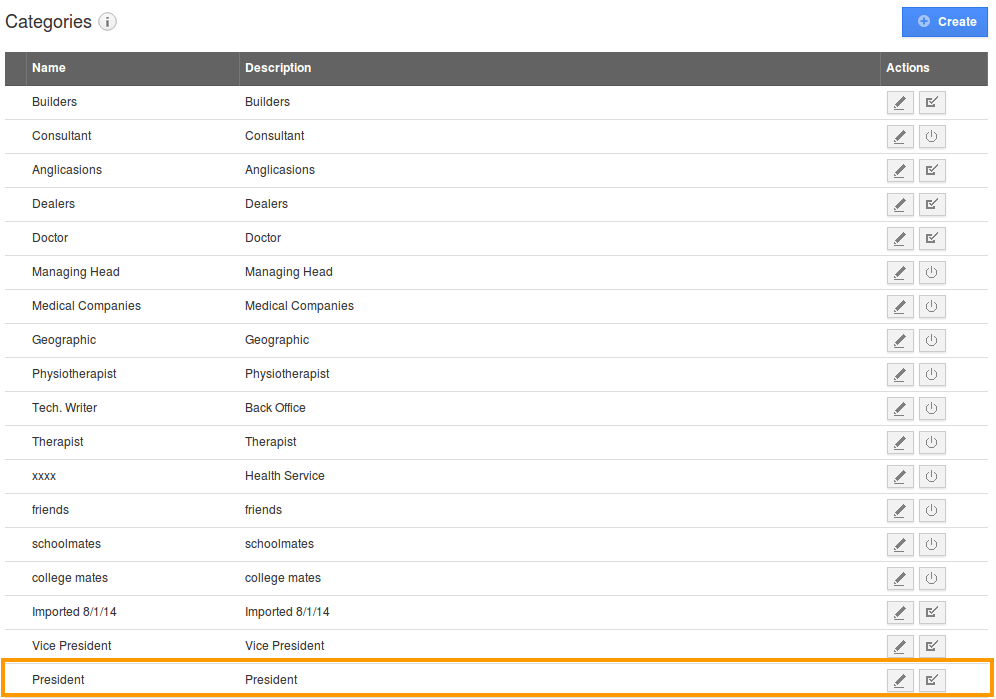
Click on the Settings->Contacts->Categories. This will display all the categories by default. On the upper right of the window look out for Create button. Click on that and enter the specifications and click on Create button again to save category. Voila! You have created a Category. The following steps will make things more clear.
Steps to create a Category
- Log in and access Contacts App from universal navigation menu bar.
- Click on "More"
 icon and select "Settings"
  located at the app header bar.
- Select "Contacts" drop down. Click on “Categories” from the left navigation panel.

- Click on “Create” button to create a new category and specify:
- Name - Name of the category.
- Description - Description of the category.

- Click on “Create” button to complete.
- By default, the created category will in enabling mode. You can "Disable" using the icon
 , if needed.
- You can update the category information by clicking “Edit” icon if needed.

