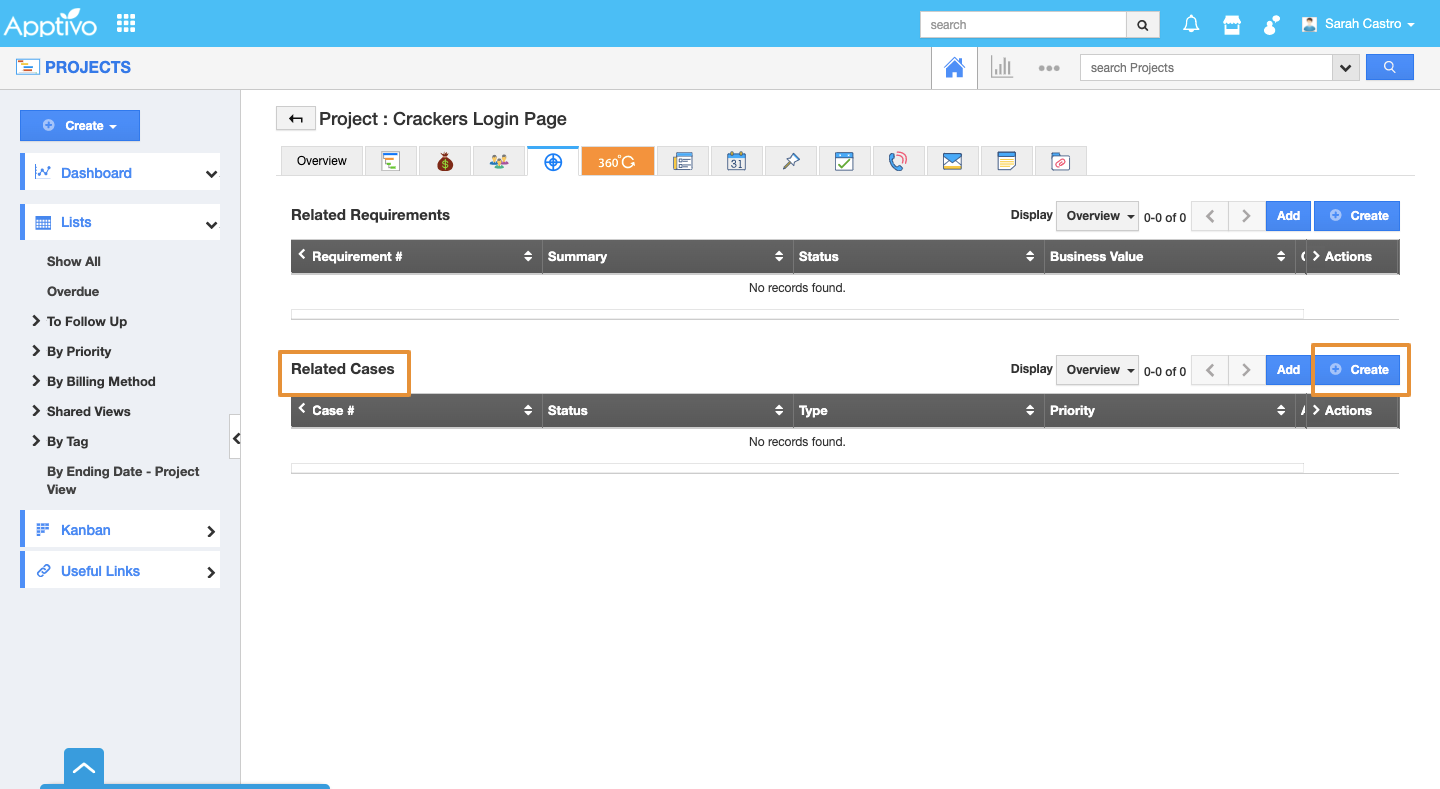
In the Projects App, cases are nothing but gaining control of the problem or an issue while initiating a project. It will be in a short written form. You can create or add cases related to the project.
Steps to Create Cases in Projects
- Log in and access the Projects App from your universal navigation menu.
- Create a new project or select an existing project.
- Click on the Scope tab of the project from the list.
- Click on the Create button in Related Cases.
- You will view the Create Case side panel.
- Provide the following information:
- Case # - This is an auto-generated or manually entered number to identify the case.
- Type - Type of the case such as resource request, technical issues, product purchases, etc.
- Status - Status of the case such as immediate, closed, rejected, etc.
- Priority - Priority of the case such as high, low, medium, etc.
- Assigned To - Name of an employee.
- Summary - Summary of the case.
- Description - A brief description of the case.
- Project - Project name auto-filled.
- Need By Date - Need by date.
- Date Resolved - Case resolved to date.
- Customer - Name of the customer associated with the case.
- Contact - Name of the contact.
- Click on the Create button to complete.
- The Case will get created and added to the Related cases.
Related Links


