Browse by Solutions
Browse by Solutions
How do I Create Tags in Ledger App?
Updated on January 23, 2017 01:34AM by Admin
Tags are nothing but labels with one or two words, which will associate with most of the marketing records, to organize the data in a personalized way. It allows the user to group records from various categories by a common use, which facilitates finding or searching information.
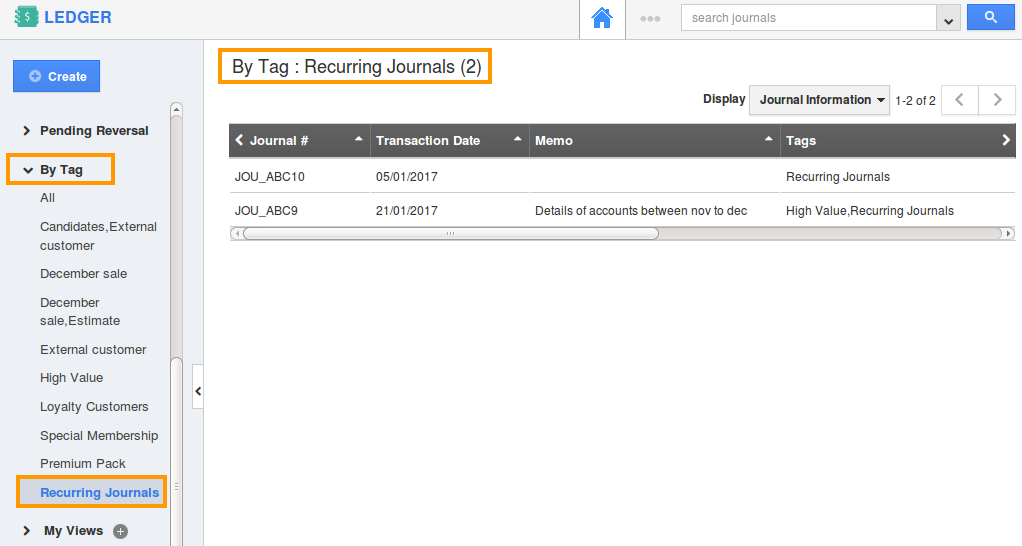
For instance: If you want to view those journals under “Premium Customers”, then that can be created as a tag. Now, on clicking the Premium Customers under “By Tag”, the journals associated with that tag will be displayed.
Steps to Create Tags in Ledger App
- Log in and access Ledger App from universal navigation menu bar.
- Click on “More (...)” icon and select “Settings” located at the app header bar.

- Select “Tags” under “General” drop down from the left navigation panel.
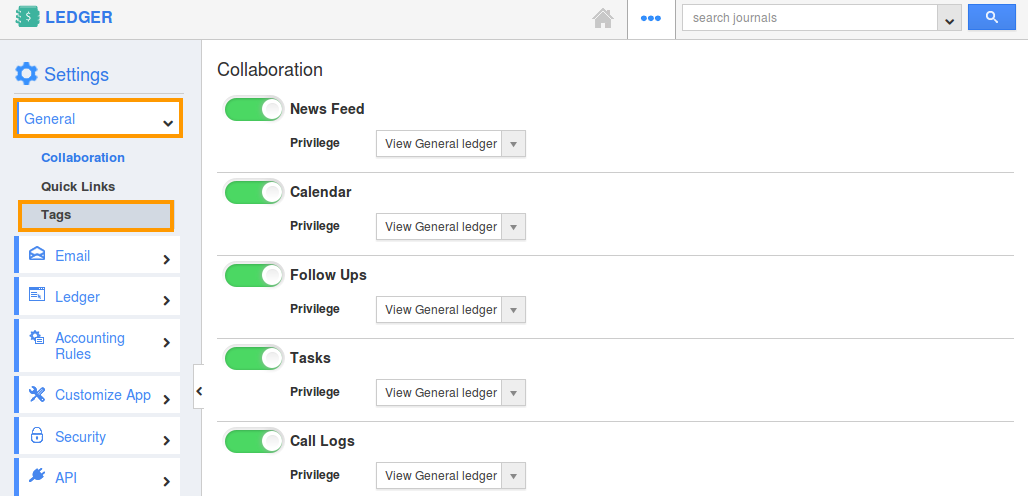
- In Tags dashboard, you can view:
- App Tags - These tags are app specific. They can be accessed only within the Ledger app.
- Global Tags - These tags can be accessed throughout the apps in Apptivo.

- Click on “Create” button.
- Now provide the following details:
- Tag Name (Mandatory).
- Select “App Tag” or “Global Tag” by clicking on the respective radio icon.
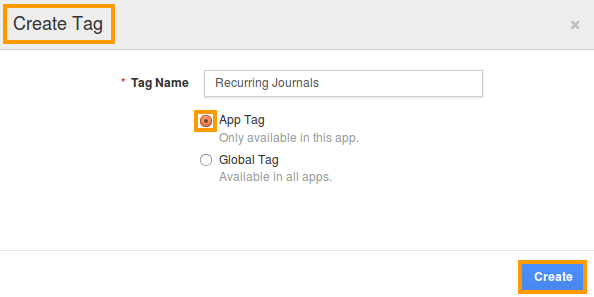
- Click on “Create” button to complete.
- The created tag can be edited, by clicking on the “Edit” icon.
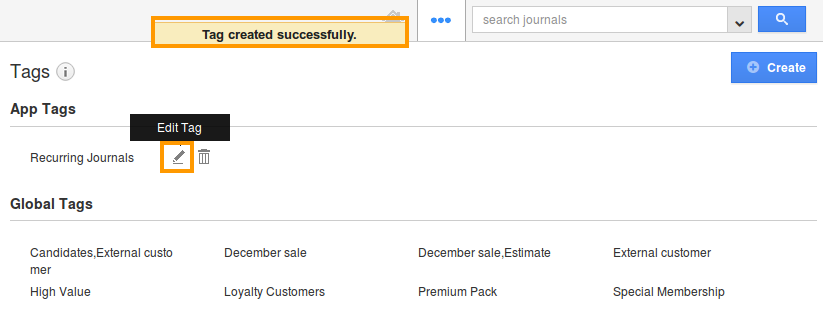
Now that the tag has been created, follow the below steps to apply the tags.
Applying Tags to your Journals
While creating Journals, you can apply tags from the creation page. Furthermore, you can upgrade the labels for existing ledgers too, allowing you to add multiple tags.
- Log in and access Ledgers App from universal navigation menu bar. Click on “Create” from the left navigation panel.

- Now, select the appropriate tag from “Tags” field as shown:
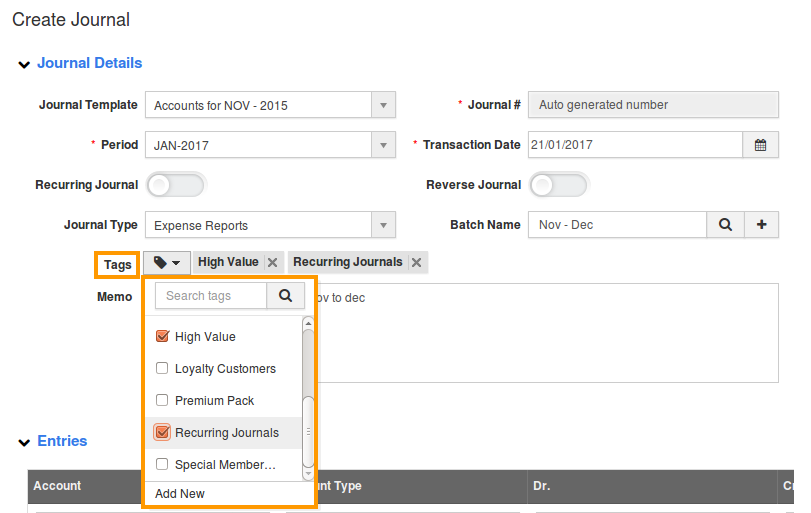
- You can add multiple tags for a single journal.
- By clicking on “By Tags” option, you can easily view the journals which are grouped by the tag created.
