Browse by Solutions
Browse by Solutions
How do I Customize Communication Settings in Invoices app?
Updated on March 19, 2018 12:10AM by Admin
Invoices App has several groups of configuration settings that allows you to adjust the way the app functions. One among those Function is "Communication" which allows you to Customize the Communication Settings. Lets go through the following steps.
Steps to Customize Communication in Invoices App
- Log in and access Invoice App from your universal navigation menu bar.
- Click on “More”
 icon and select “Settings”
  located at the app header bar.
- Click on "Invoice" from the left navigation panel and select “Communication” menu.
- You can view respective options found at the right side panel:
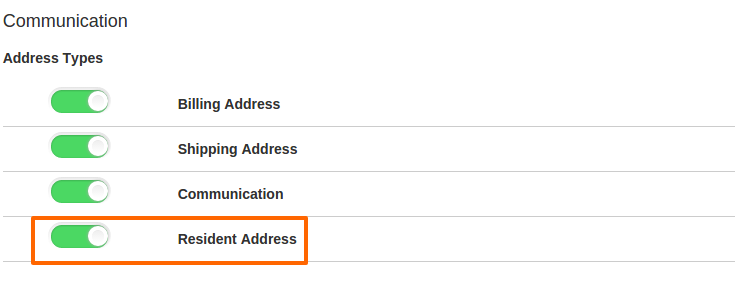
- Address Types
- Click on “Create” button to add a new address type and specify "Name".

- You can “Show/Hide” attributes found in "Address" Types.
- You can view enabled values or newly created values while creating invoice and also when exporting invoices.
- For instance: you can view the created address type as shown in the image below:

How do I make default Address type?
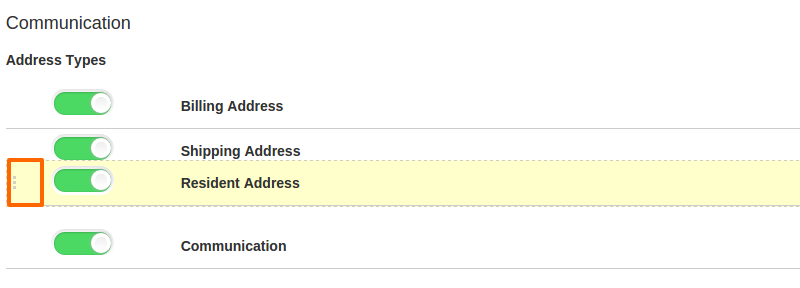
You can set default address type by dragging and dropping preferred address type. This allows you to relocate the address types from top to bottom and vice versa. In order to make the address type as a default option you need to place that address type at first.
Related Links
Flag Question
Please explain why you are flagging this content (spam, duplicate question, inappropriate language, etc):

