Browse by Solutions
Browse by Solutions
How do I Create an Invoice with Recurring Payments?
Updated on January 7, 2017 05:21AM by Admin
Recurring Billing
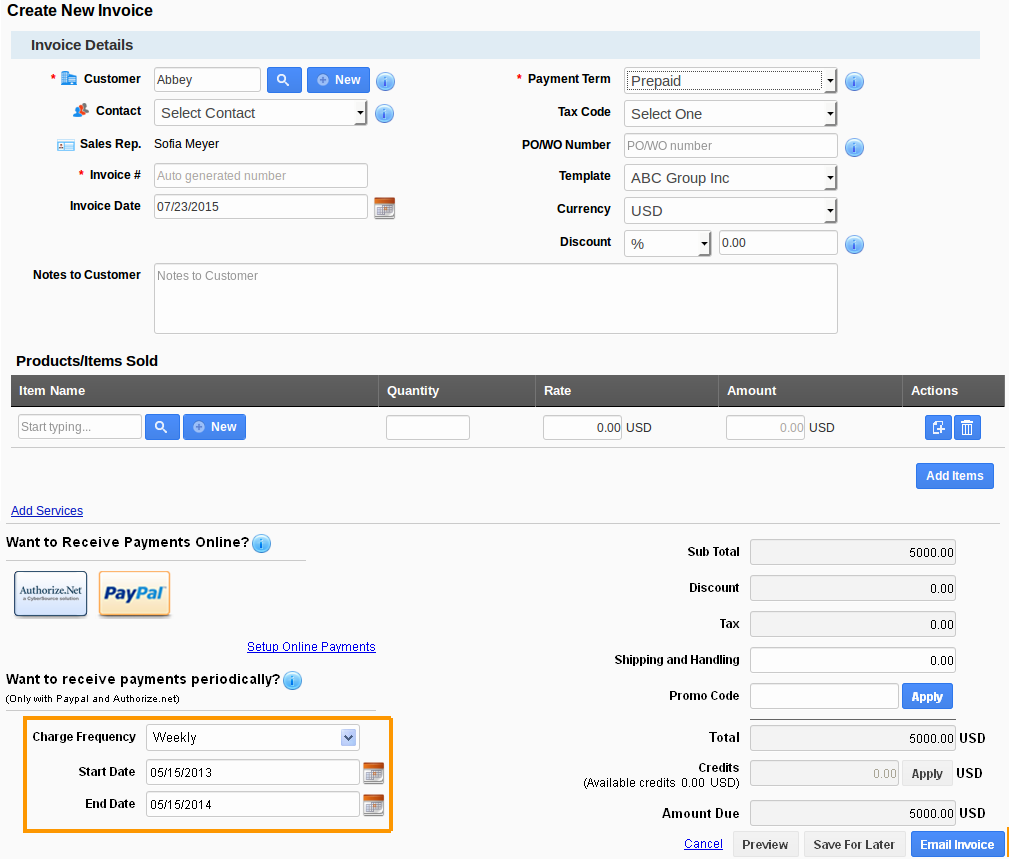
When you create an invoice, you can enable automated payments if you are using Authorize.net as a payment option. When your customer pays for the first time, Invoices app will create a payment profile with this gateway and your customer will be automatically billed periodically. You will see a section called "Recurring payments" on the Create Invoice Screen.
Steps to Create an Invoice with Recurring Payments
- "Log in" and access "Invoices App" from your universal navigation menu bar.
- Configure "settings" to enable recurring billing.
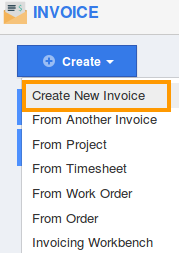
- Click on "Create Invoice" button and select "New Invoice" from left navigation panel.

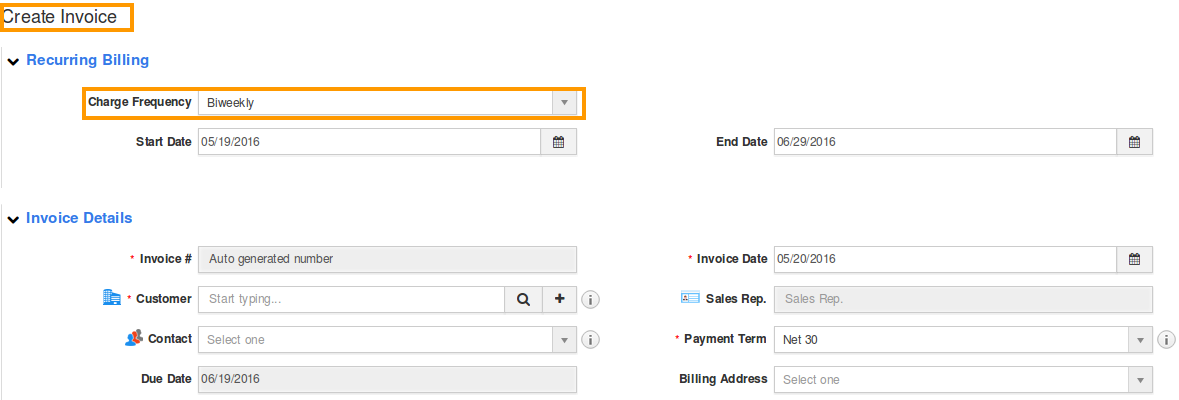
- Set the Charge frequency on whether weekly or bi-weekly or monthly and set start and end date.

- As soon as the invoice created with recurring payments it can be found under draft similarly it would be in sent tab if the invoice is being sent to the customer.

Related Links:
Flag Question
Please explain why you are flagging this content (spam, duplicate question, inappropriate language, etc):

