Sometimes it might be a handful for you to input each request from your customer into a case manually. Authenticate your mail address with the Apptivo account and turn the emails into Cases. This time we have introduced O365 with modern authentication where no password is required. Follow the steps to authenticate your Microsoft account and get your emails turned into cases.
Let’s take the scenario, where your company has a separate support mail, and all the customer's inquiries will be collected in that mail. Now if you would like to have every email from that email address created as a case automatically, then you can use the Email to Case feature of Apptivo to get your job done.
Steps to Configure Email to Case using O365:
- Log in and access the Cases App from your universal navigation menu bar.
- Click on the More(...) icon and select Settings located at the app header bar.
- Click on Email to Case from the left navigation panel.
- Click on the Add button to add the email address.
- Fill up the following details:
All the details that you’re providing are necessary to have an organized procedure, this involves three steps as follows:
- Email Forwarding: Here, you’re going to provide all the email-related details like receiving email ID, Assigned to and other details that you prefer.
- Addressed To Email Account – Either you can choose the same account or can redirect to the email list.
- Assigned To - Select an Employee or team to whom it should be assigned automatically.
- From Email Id – When composing a message you can set this authenticated email address. If you want to use this email id when composing click on the “Off” button and enable “On”.
- Add to CC – Enable the toggle to add the authenticated email id to the CC list automatically.
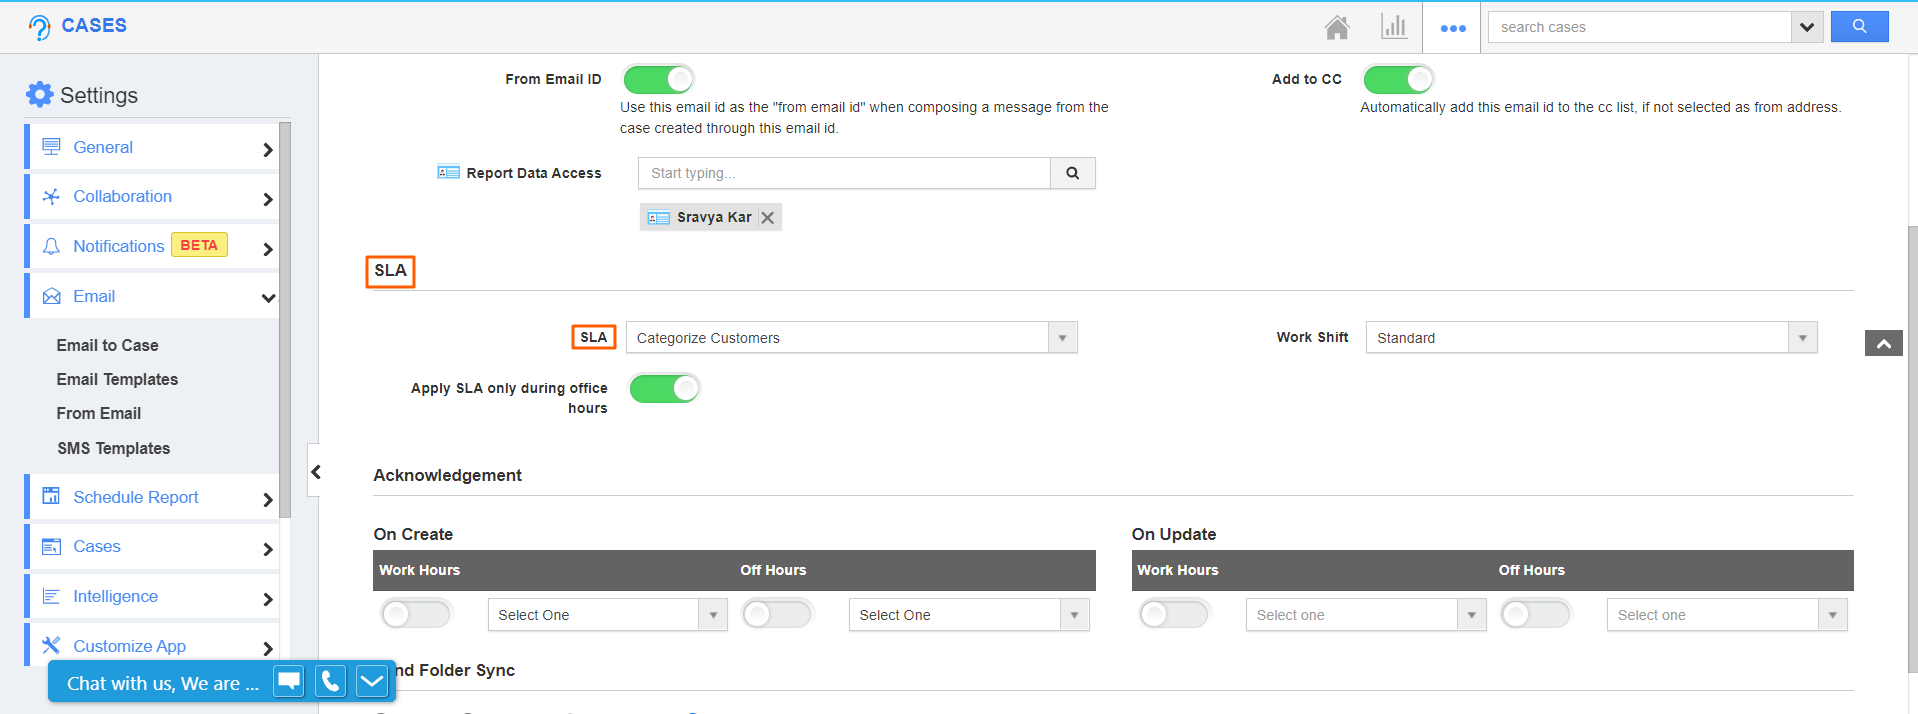
- SLA: Select the Service Level Agreement, to let your customers know about the services that you provide.
- SLA - Service level agreement which applies for emails associated with this email address.
- Work Shift - Work shift applied for the cases created through this email address.
- Apply SLA only during office hours - Enable the toggle to calculate the hours based on work shift hours.
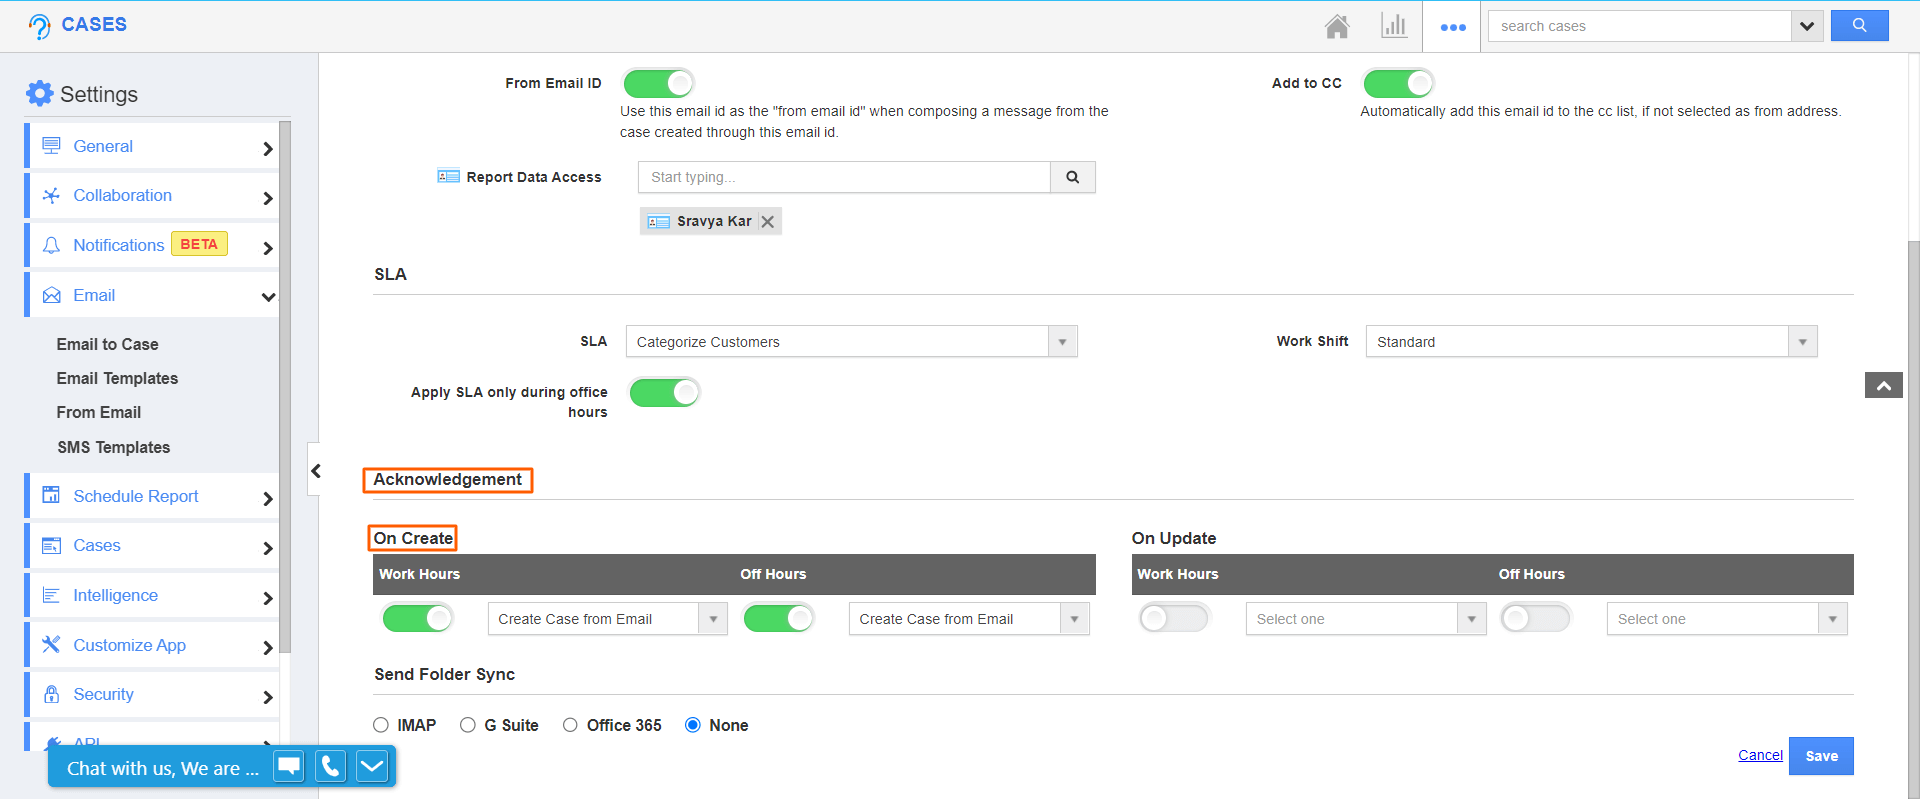
- Acknowledgement: By using this, you could acknowledge when the case is created or Updated. So that you could keep track of the requests you are receiving from your customers.
- On Create - When cases are created the acknowledgment email will be sent automatically; If you enable this option "ON" with the message template.
- On Update - When cases are updated the acknowledgment email will be automatic; If you enable this option "ON" with the message template.
- Send Folder Sync: Now you could perform the Sync and the Addressed To Email Account should be the same as the Email ID that you’re going to authenticate.
- The Send Folder Sync allows you to sync using IMAP, Gsuite, and Office365. Here, I’ve selected Office365 to authenticate.
- Provide the Email address and then, click on the Authenticate button.
Note: You should have the Apptivo app installed in your Microsoft account to authenticate without any interruptions.
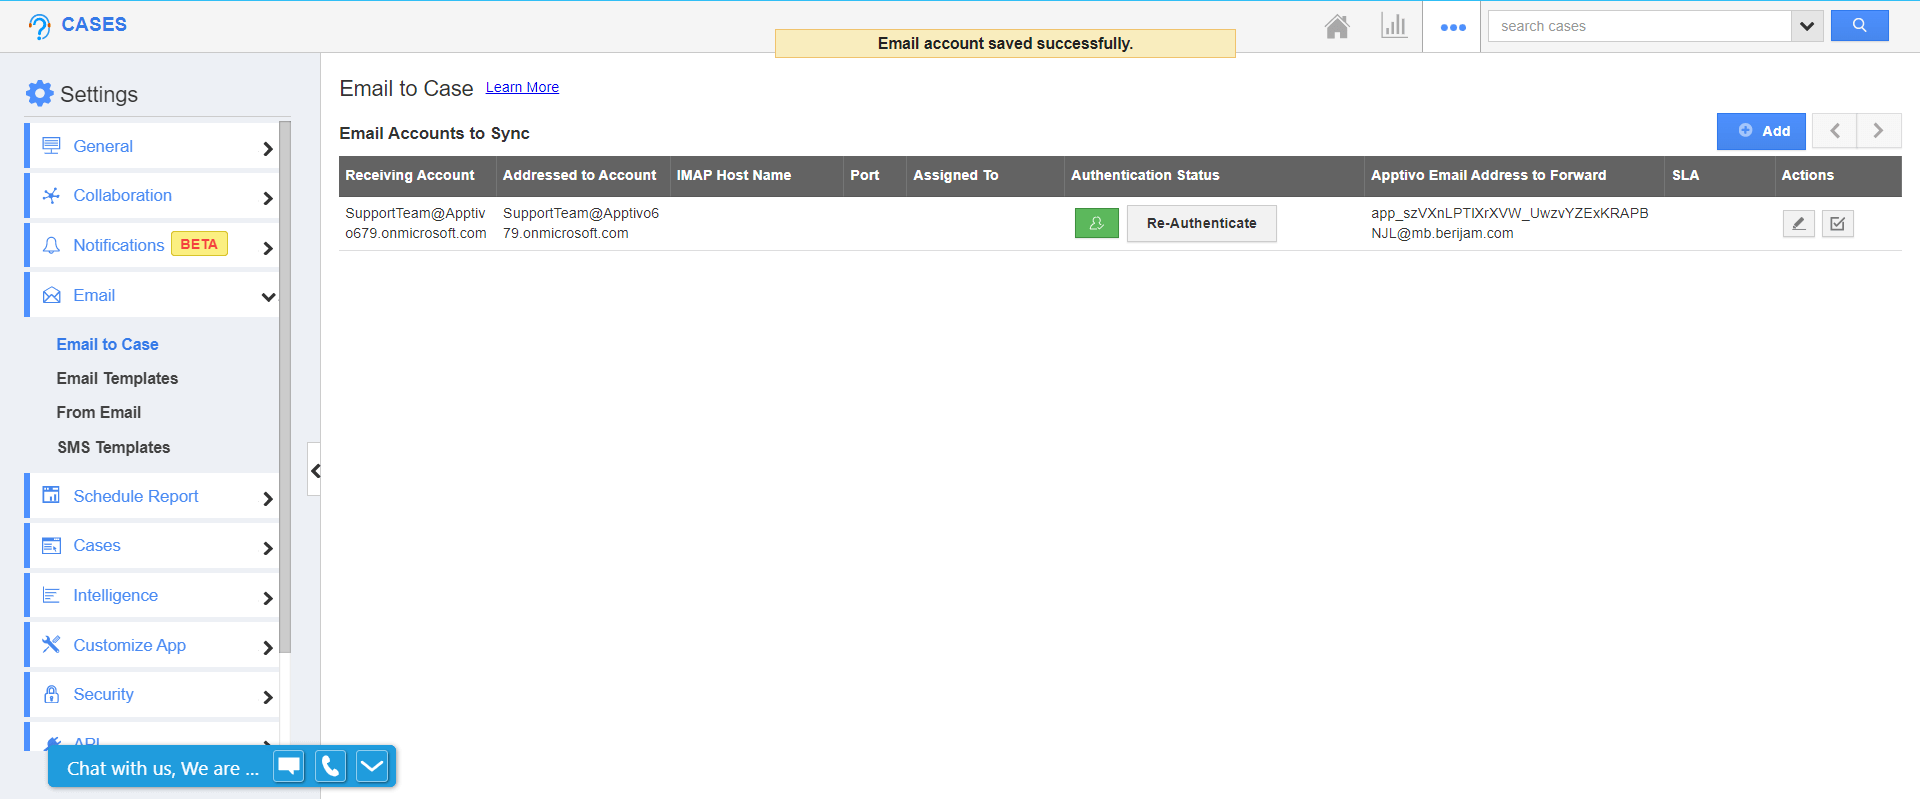
- Now the email will get authenticated with your Apptivo account.
- After authenticating your email id, go back to the edit page to get an "Email forwarding code."
- You can view the "Email forwarding code" near Apptivo Email ID to forward.
- Now select the “Enable Forwarding” tab and paste the email forwarding address as shown below. Now click on the Save button.
- Therefore, whenever you receive an email to the authenticated email address, it’ll be created as a case.
.png)


