Apptivo’s Add-in in Outlook enables you to perform a number of actions from your Outlook page. This includes creating a case and storing them in your Apptivo’s Cases App.
Steps to create a case
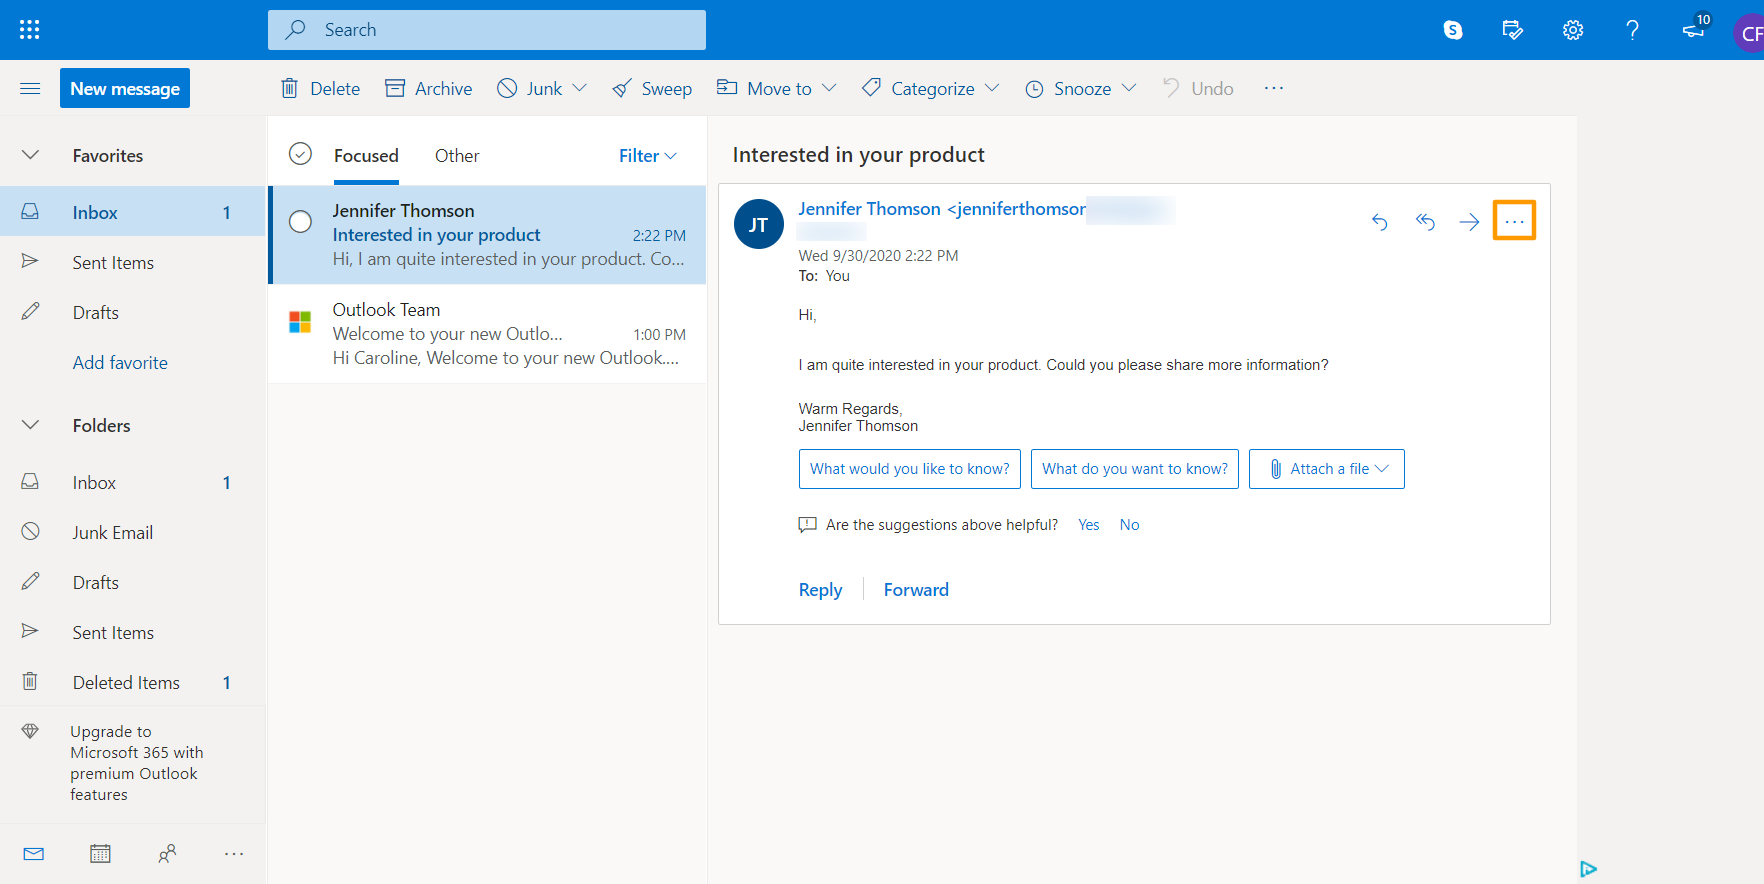
- In your Outlook account, select an email to view the email information. Here, select the More Actions icon.
- Select Apptivo for Outlook option in the More Actions dropdown.
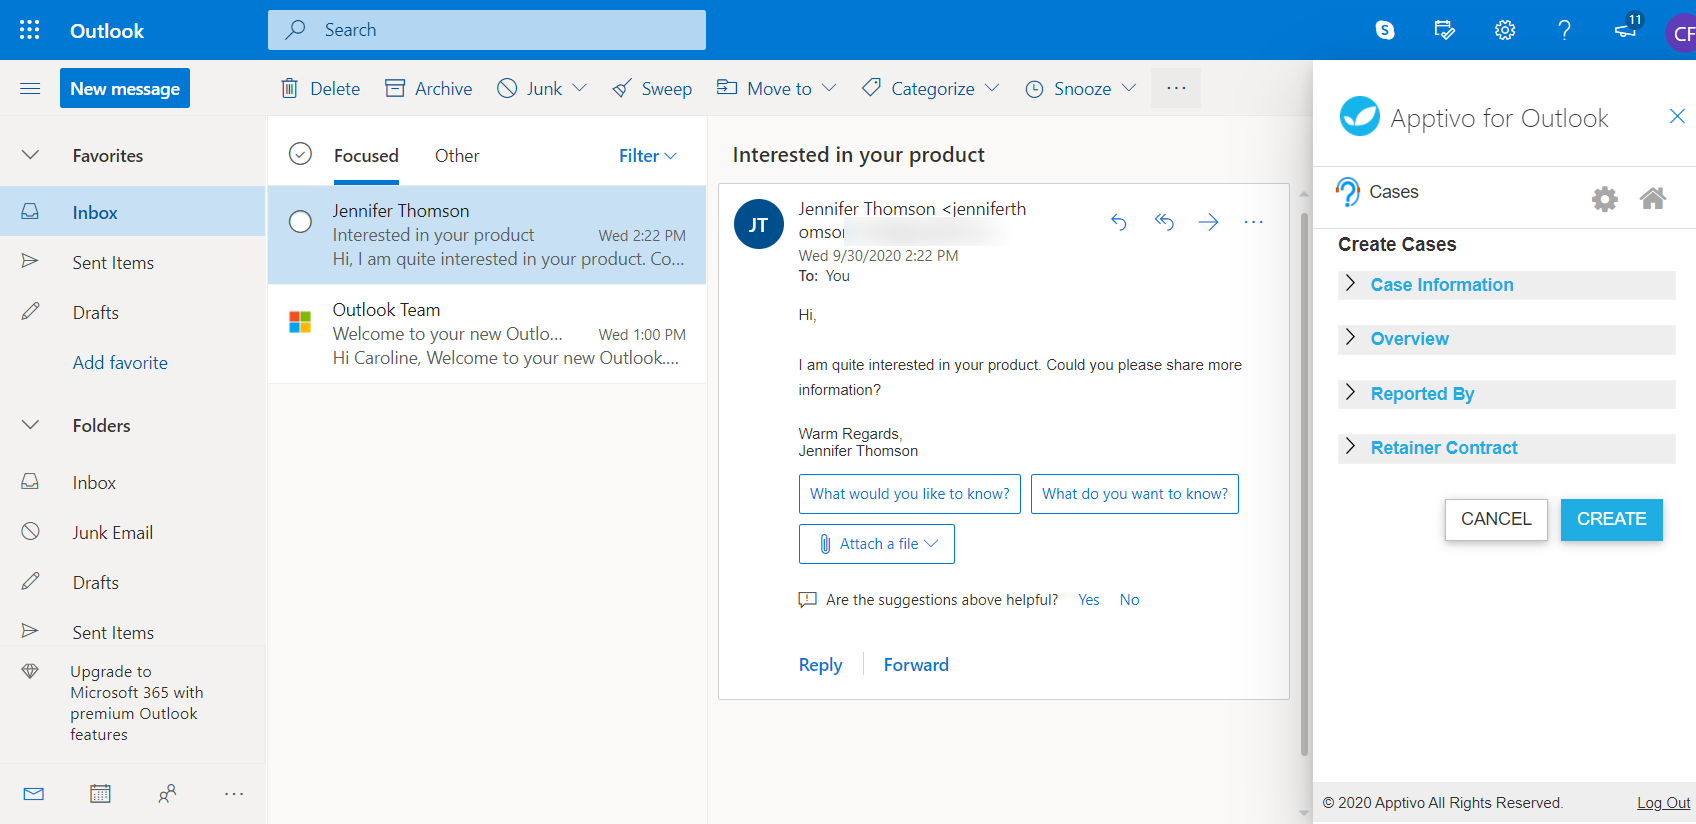
- The Apptivo for Outlook side panel comes into view.
- Here, log in with your Apptivo account’s credentials or create a new account.
- Once logged in, the selected email address will be scanned in the Apptivo system.
- If the email address already exists, you will be redirected to the email address’s profile in the Contacts App. Select the Home icon to go to the home page.
- If the email address does not exist, you will be redirected to the home page. To create a case, select the Cases option.
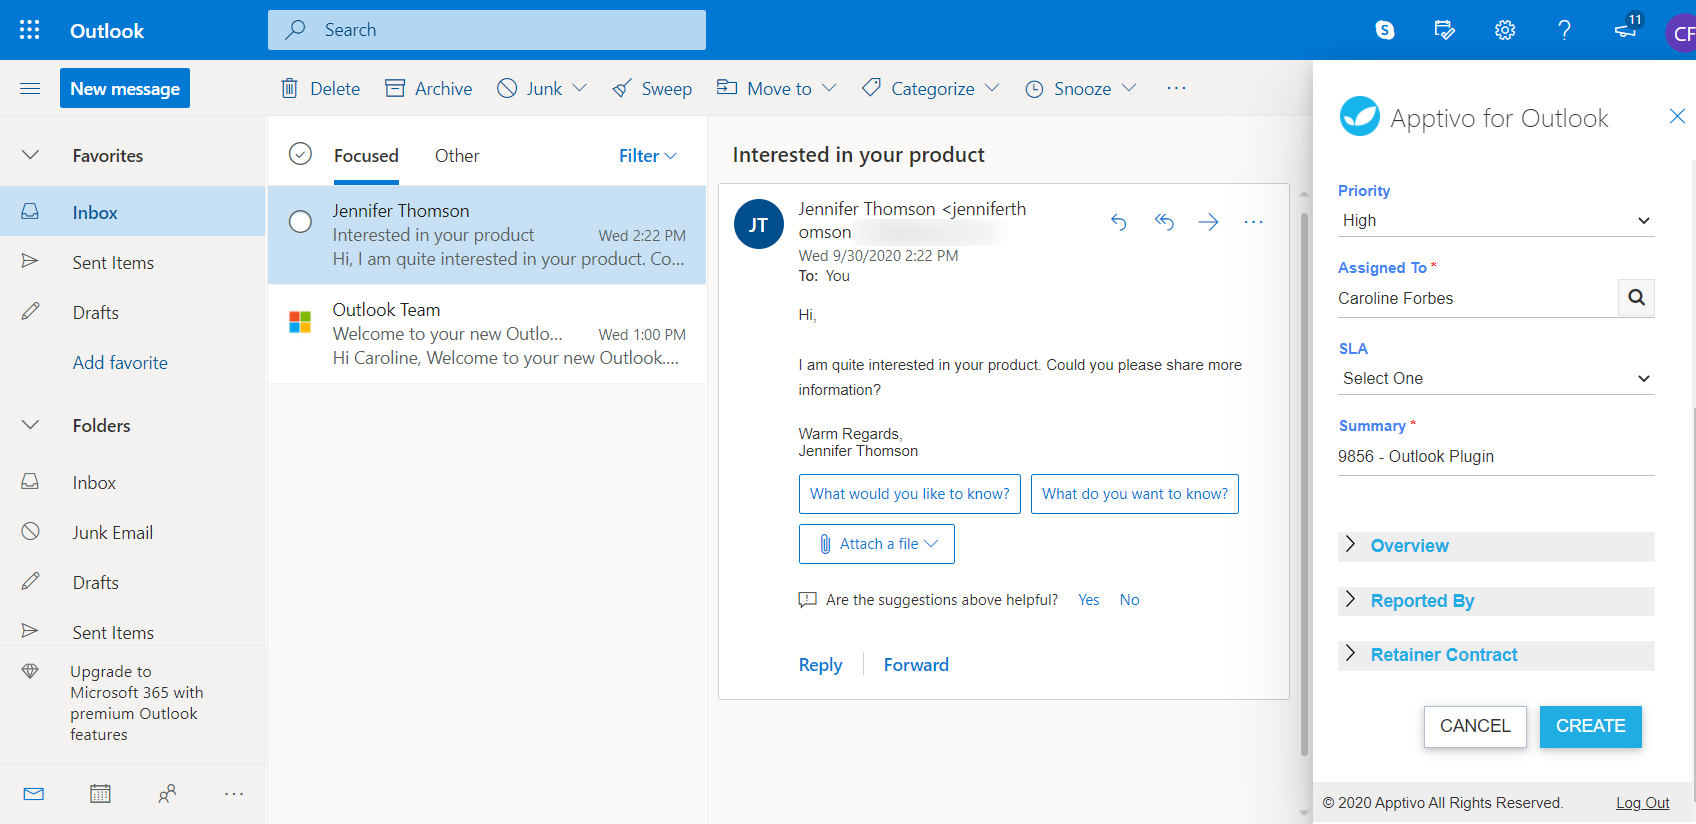
- In the Create Case page, add the information related to your case.
- Here, you can enter all the information related to your case like the case summary, priority, employee, SLA, and other crucial information.
- Also, you can associate the desired contact and customer as well.
- On clicking create, a new case is created.
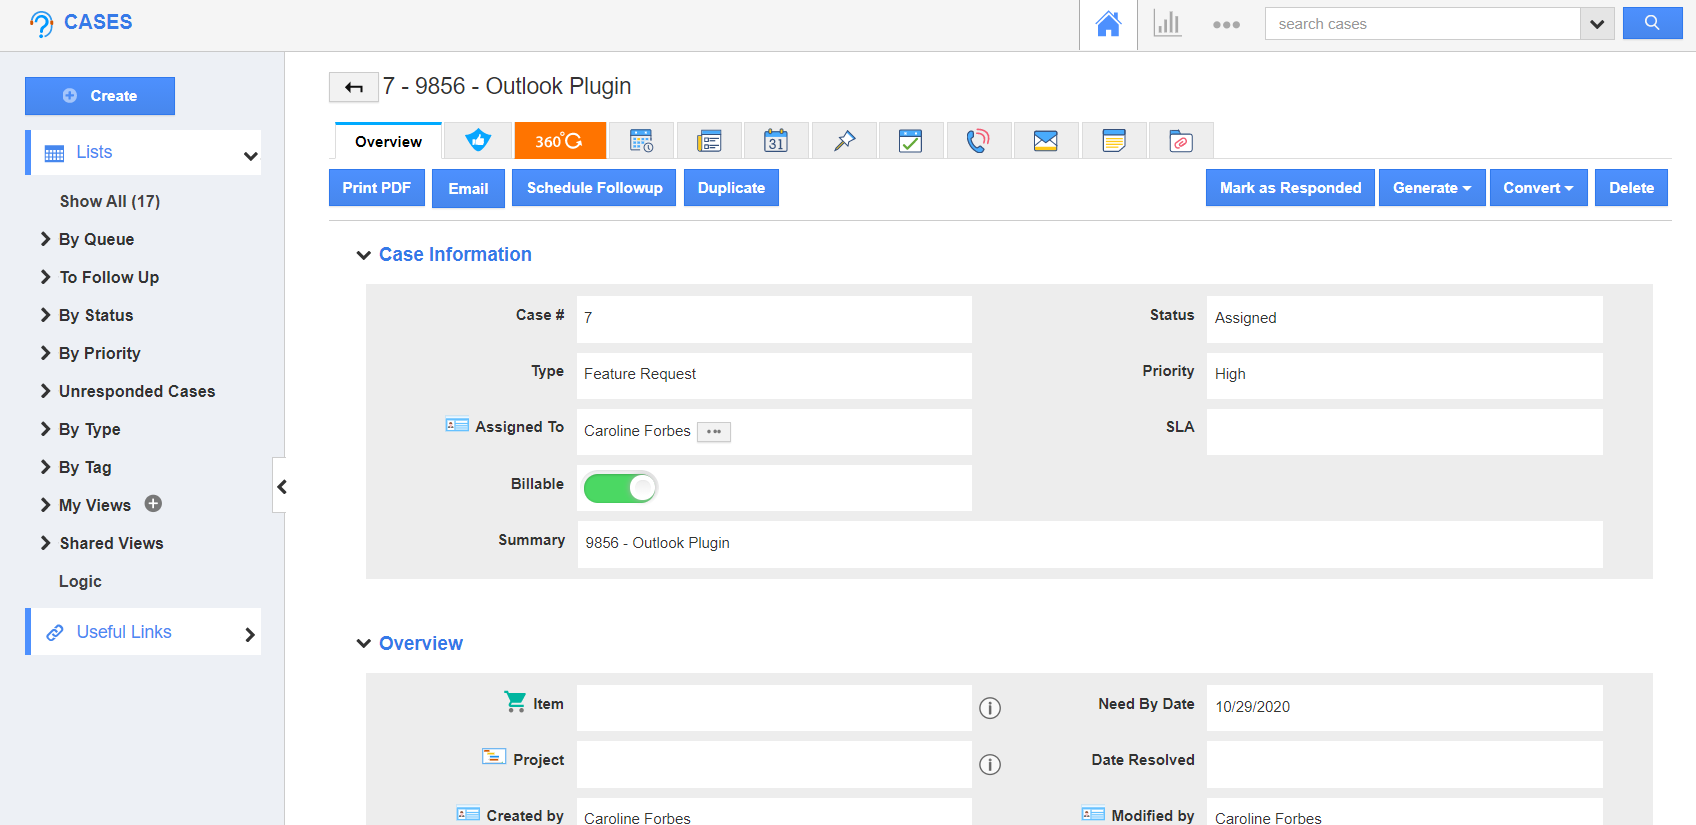
- To view the case in Apptivo, select View in Apptivo. You will be redirected to the case’s overview page in the Cases App of Apptivo.


