To perform this custom view, you have to add the custom ref app field from the master layout.
Steps to add the ref app field
- Login and access the Leads app from the universal menu.
- Click on the More(...) icon and select the Settings.
- In the Master Layout, click on the Customize app and select the Master Layout.
- From the Master Layout, you can view the Pallette on the right side.
- Scroll down to view the Ref app and Ref app field.
- Drag and drop the Ref app to the layout.
- Click on the Ref app, you will be redirected to the Inspector tab on the right side.
- In the Inspector tab, you can customize the attribute.
- Change the Name of the Attribute in the Name.
- Scroll down to view the Reference Object Details, select the Employee App from the App.
- Click on the Reference App Field, change the name of the Attribute in the Inspector tab.
- Scroll down to view the Reference Fields Details.
- Select the added Reference app in the Reference object.
- In the Reference field, select the Employee ID.
Steps to create a custom view with this Ref app
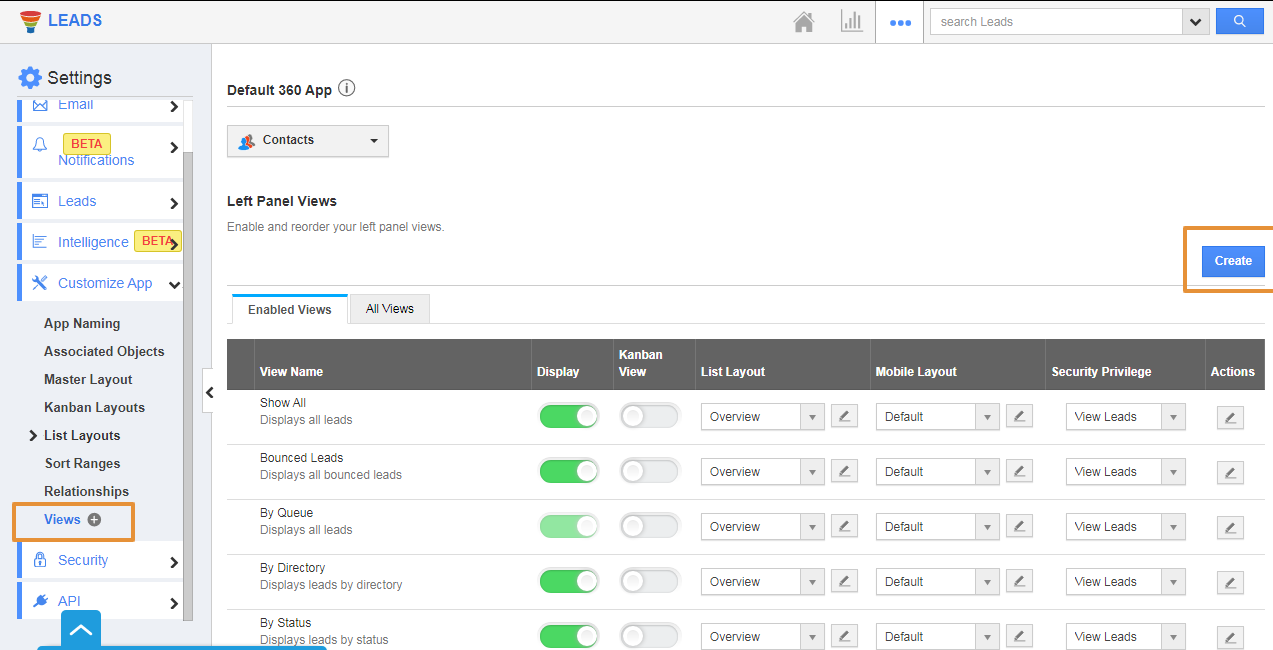
- Click on the Views on the Left panel and click on the Create button.
- Add the Title and description in the Create view.
- In the Criteria, select the added reference app by using the Insert Attribute.
- Select the operator “=” and select the Dynamic and Login User.
- By setting this criterion, the leads are created by the login you will be visible in this custom view.
- Then, click on the Create button.
- Now, go to the Leads home page, you can view the Create view on the left panel.
- Click on the Created view, you can view all the Leads that are created only by the login user.


