Businesses involve the sale of various products and services. Most organizations don’t stick to one product. Instead, there is always research on new products to stabilize the business. There is a need to maintain an inventory of all the items and the associated Suppliers. With Items App, this can be materialized. To quickly view a particular group of Items, you can create custom views using View Builder in Apptivo.
Steps to create Custom Views in Items App
- In Items App, go to Settings → Customize App → Views. In the Views pane, select Create to create a new custom view.
- You can add a Title and Description for the view in the Create View side panel. Along with this, set the privileges for the Custom View.
Note: The Privileges are set for the Employees from the Employees App. Based on the assigned privileges, Employees will have access.
- Now, select the List Layout which has to appear while displaying the custom view. Here, you can see the Overview is selected.
- To make the View available in the left pane, make sure Display toggle is enabled.
- In the Criteria section, you have the ability to set the criteria upon which the Items are to be filtered.
- Here, the condition is set to display the item only if the item value is less than or equal to $150. You can also make use of the Add Condition feature to add more than one attribute.
- Lastly, you can decide what actions have to be made available while performing Bulk Actions. By default, it is enabled for Print PDF, Download PDF’s, send, Archive, and Export.
- If a particular feature is not required, disable the feature. Select Create. A new view is listed in the View Builder.
- Navigate to the Home page of the Items app. The created view is available in the left pane. Click on it to view the records which match the criteria in the right pane.
HOW TO DELETE CUSTOM VIEWS IN ITEMS APP?
- To delete the view, click on More→ Settings from the App Header Bar.
- The User will be directed to the Settings Page. Click on “Customize App → Views” from the Left Navigation Panel.
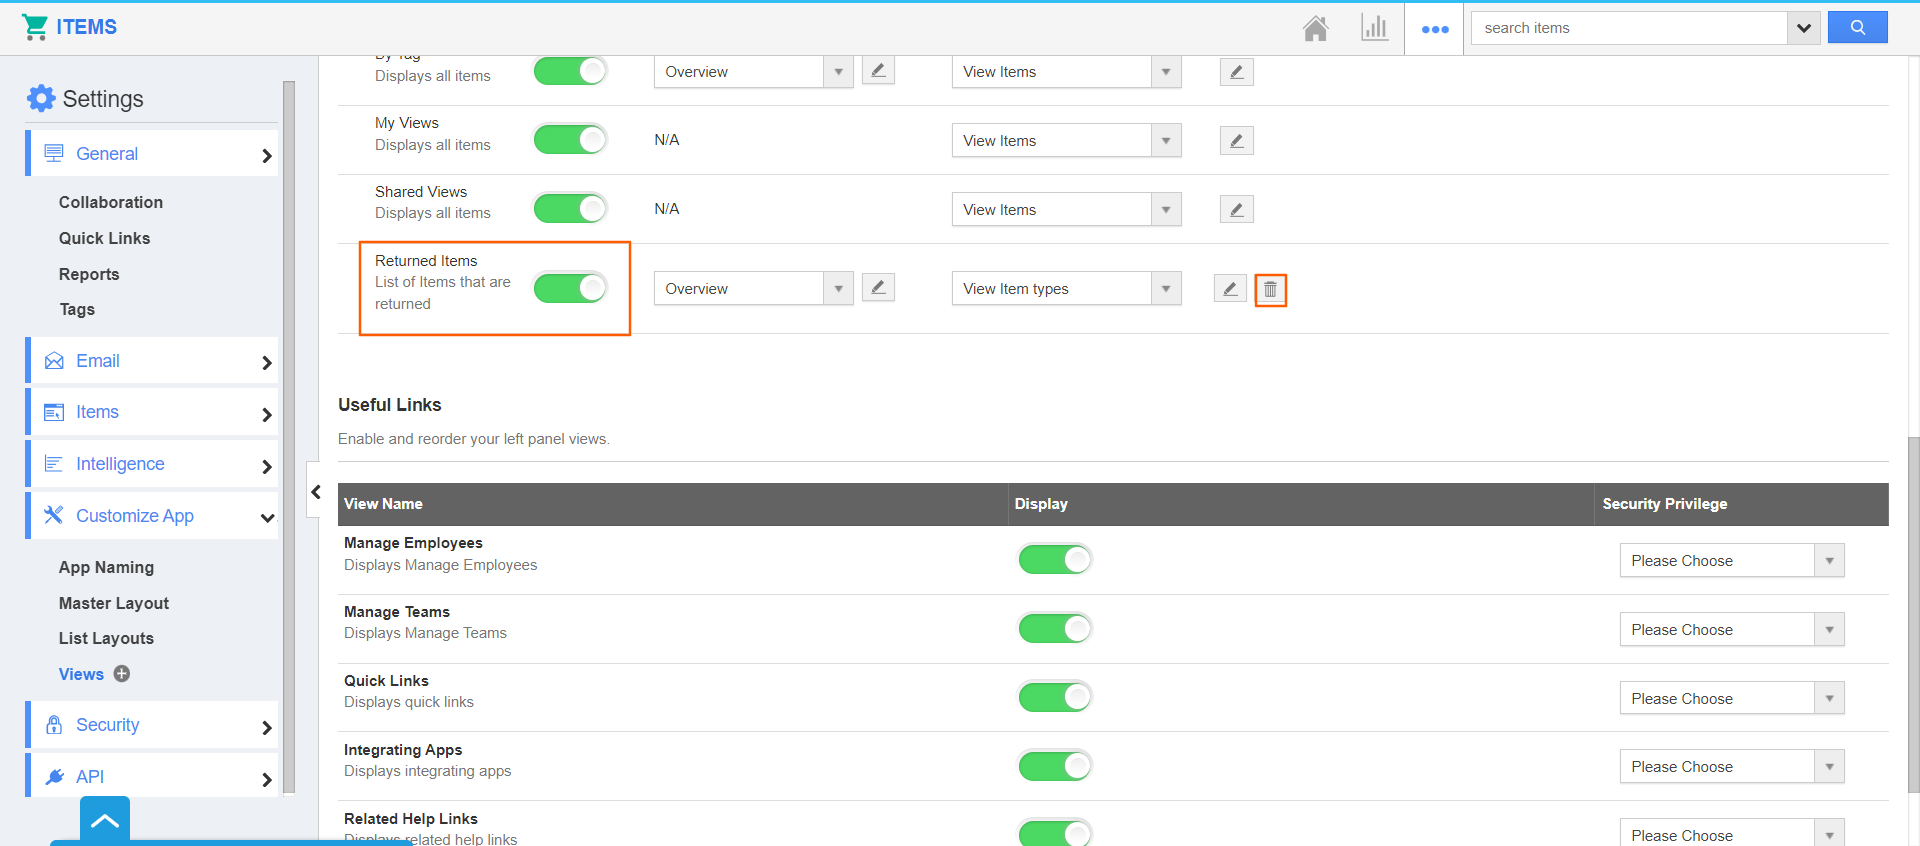
- One can see the list of custom views along with the delete icon on the action column.
- The user can click on the “Delete” icon to delete the custom view which is no longer needed.

- Upon successful deletion, a confirmation alert will be displayed.

Note:
- If the custom view is deleted, it will be removed for all the users.
- If the view is associated with the Scheduled report or default view or both, the user needs to remove the association in order to proceed with the deletion of that corresponding view.


