Browse by Solutions
Browse by Solutions
How to configure Voice Message in the Contact Center App?
Updated on April 6, 2020 05:13AM by Admin
Apptivo’s Contact Center App is a well-distinguished Application designed solely to handle your calls better. With the availability of multiple options, your customers will always have a way to convey the information to you or your employees. You can also configure the option where the customers can leave a voice message.
Tracy wants to establish a tie-up with a Medical Equipments Company. The Company handles the selling of all kinds of medical equipment. Tracy is a supplier offering Surgical Instruments. She wants to enter into a deal with this Company where she can be the Supplier of Surgical Instruments. So, she makes a call to the Company. The Company has opted for IVR facilities to handle the calls efficiently. But, the day when Tracy made the call, all the Employees were busy handling other customer queries. Rather than canceling the call, she made use of Voice Message facility to leave a message. Below are the steps to configure the Voicemail.
Steps to Configure Voice Message
- Go to Settings in the Contact Center App. Here, select Contact Center → Phone Numbers → Select a Phone Number.
 |
- You will be directed to set up the call flow. You can add a friendly name for the phone number and set up the path.
 |
- Since IVR is used to handle the call flow, the call flow chosen here is Standard Tree. In the Standard Tree, you can add a Message and configure the Call Handling Rules.
Messages: Convert your text to speech at the start of the call. The entered message will be converted to text. Here, you can also add the IVR flow.
 |
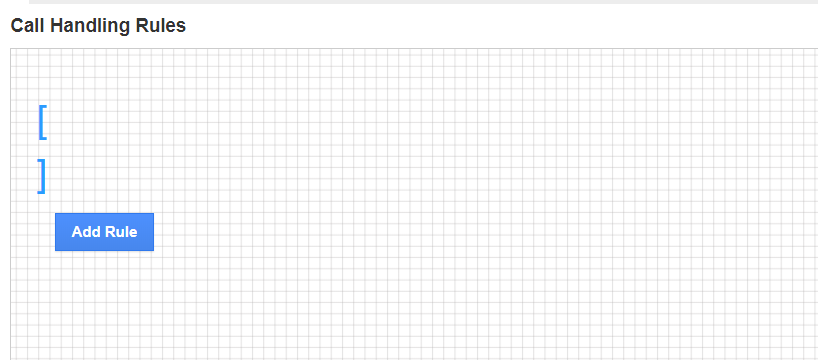
Call Handling Rules: You can decide the call flow when the call reaches your organization or the contact center.
- Select Add Rule to start the process to enable the call handling rules.
 |
- Here, you can set the flow for the call. You can set the course of action on what happens when the callers a particular number in the Dialpad.
- In the Routing Profile, you can transfer the call to an Employee, Team or a particular phone number. Along with this, you can also configure to create a Nested IVR, hang up the call, or leave a Voice Mail.
 |
Here, the flow configured is such that,
- When the caller presses 1, she will get connected with an Employee from the Sales Team to place an order.
- When the caller presses 2, she will get connected with an Employee from the Product Team to get more information regarding the products sold.
- When the caller presses 3, she will get connected with an Employee from the Service Team on servicing a product.
- When the caller presses 9, she can leave a voicemail message.
Once the call flow is configured, save the changes.
Placing a Call
Now, a customer places a call to the Seller. Here, Tracy. When she calls, she is unable to reach out to any team. So, she leaves a Voice Message.
- This Voice Message is recorded in the Voicemail section of the Contact Center App. This option is available by navigating to Work Queue → Voicemail in the right pane of the Contact Center App.
 |
- In the right pane, you can see the list of VoiceMails. Here, you can see all the information related to the caller.
- You can click on the Play button in Voicemail recording to listen to the recording. To place a call to the customer, you can click the Call button.

