Browse by Solutions
Browse by Solutions
How to create Custom Notifications for Leads in Apptivo?
Updated on March 3, 2020 05:20AM by Admin
Leads App in Apptivo allows you to create custom notifications for the Leads. Rather than sending notifications to multiple people, you can make use of the custom notification feature to send notification only when certain criteria match.
- Go to the Settings tab in Leads App → Notifications → Update Notifications → Create.
 |
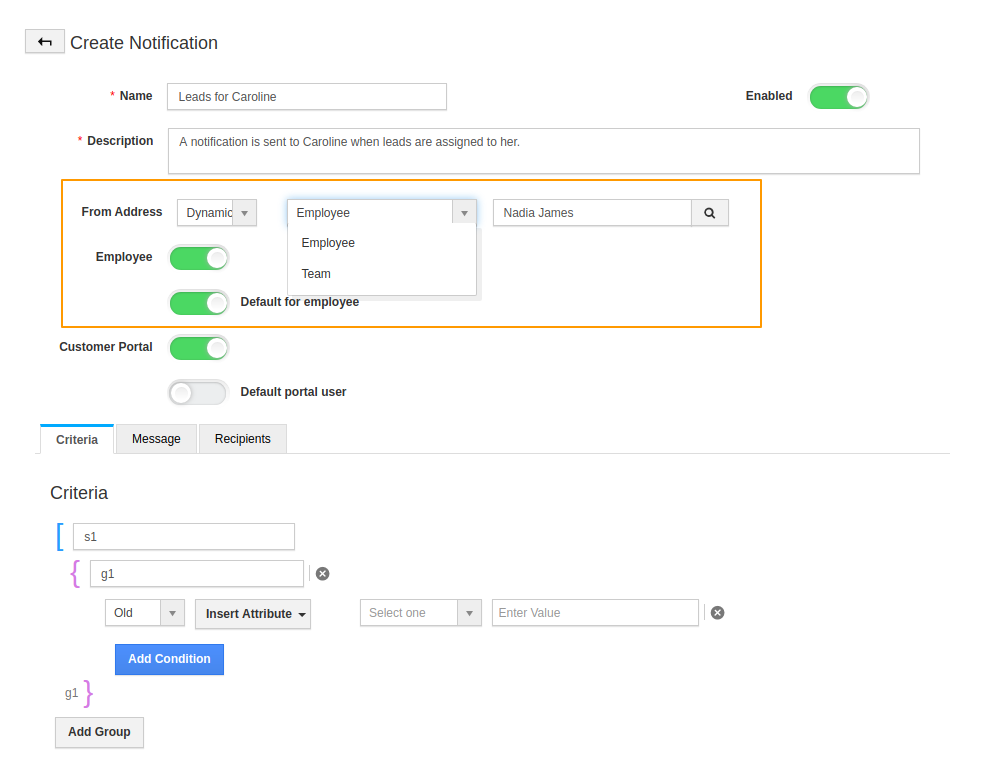
- You can see the Create Notification Page.
 |
Enter the values for the fields mentioned in the Create Notification Page.
Name: Add a name for the notification.
Description: Give brief information on the notification.
From Address: Leads App offers two types of “From Addresses”:
- Static: You can enter a default email address here.
 |
- Dynamic: You can choose the email address from the list of employees or teams.
 |
- Here, I have chosen a Dynamic email address.
- In order to set up custom notifications, it is mandatory to define three fields:
- Criteria
- Message
- Recipients
Criteria
The Criteria field determines the condition when the notification is generated.
- Under the group, you can determine whether the notification is for the “New” or “Old” set of attributes.
- Now. Choose an attribute from the “Insert Attribute” dropdown. If needed, you can add more than one attribute by selecting ”Add Condition”.
 |
- Here, the criteria are set to send a notification when the lead status is Assigned.
Now, the criteria are set.
Message
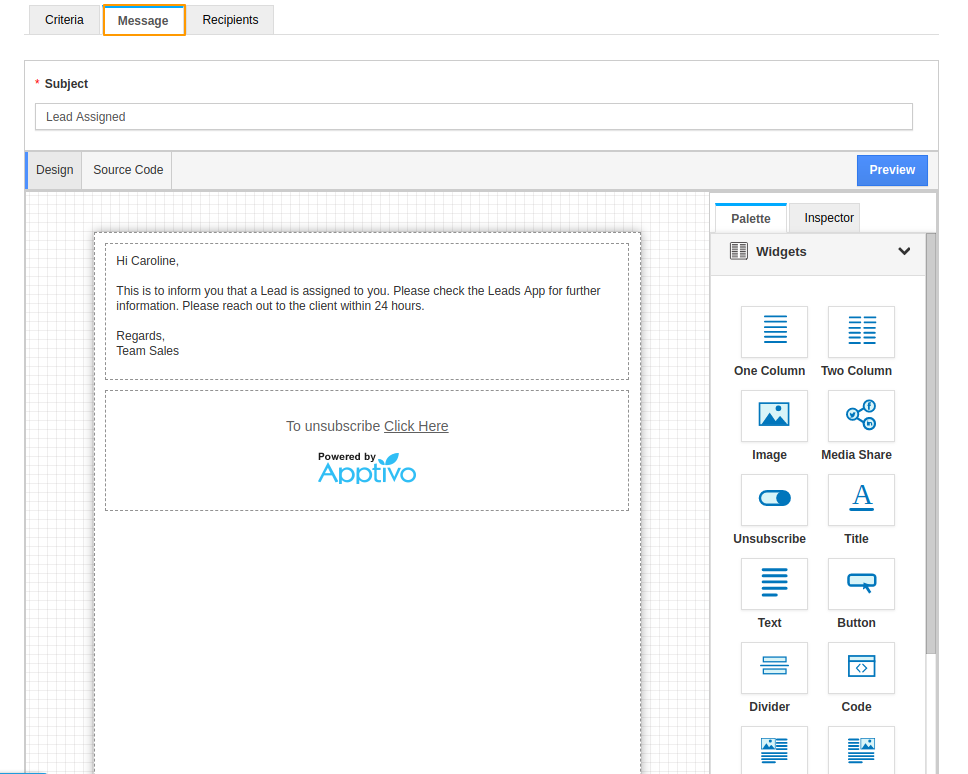
In the Message field, you can add a subject and detailed description of the message that is to be conveyed to the recipients.
 |
Recipients
In the recipients’ field, you can customize the email receiver. Apptivo offers two kinds of Recipients list.
Associated Object
It allows you to choose the recipients from a list of values. You can choose Referred by, Assigned to, Reference App, Created By, Modified By, Customer, and Contact as recipient lists and click Create.
 |
Static List
- It allows you to add your own recipients and click “Create” to complete the process.
 |
- Here, I have chosen a Dynamic list and selected Create.
- You can see that the Lead notification is created.
 |
- Consider a lead is created with the lead status as Assigned.
 |
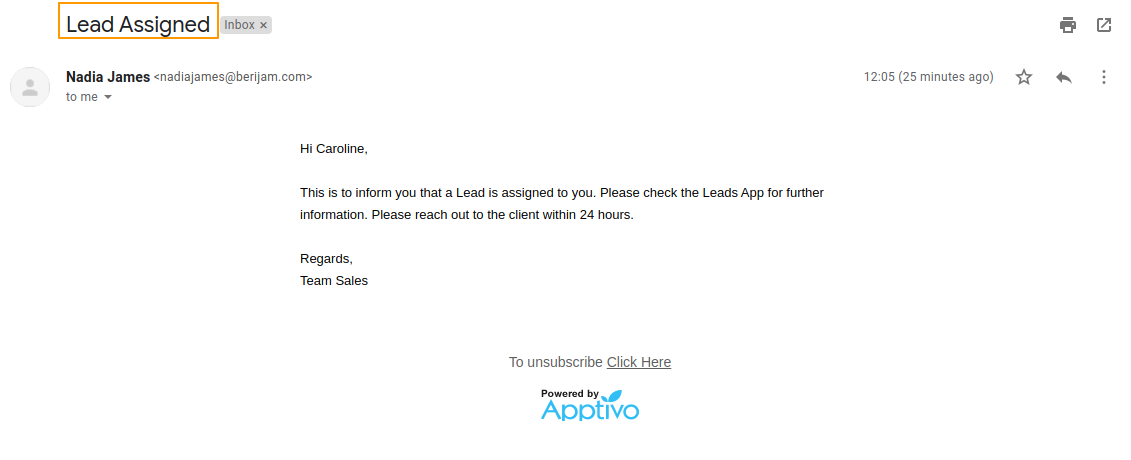
- You can see that a notification is sent to the Associated Object mentioned in the dynamic list as a recipient.
 |

