Browse by Solutions
Browse by Solutions
How to Enable the Customer Portal and Xinnect Customers via Invoices App?
Updated on May 19, 2020 05:35AM by Admin
There are numerous situations where you might need to keep a customer informed of the status of the invoices. Apptivo provides the ability to add third-party customers to specific invoices, so they can login and view their invoice details using their own account.
There are few prerequisites to be followed in order to allow customer’s contact to access the Invoices portal:
- Create Customer
- Create Contact
- Provide access to Contact
- Generate Portal
- Invite Contact to Collaborate with the business
Create Customer on Business Account
- Log in and access Customers App from the universal navigation menu bar (Note: Make sure to add the Customers App from the App Store).
- Click on “Create” button found in the left navigation panel.
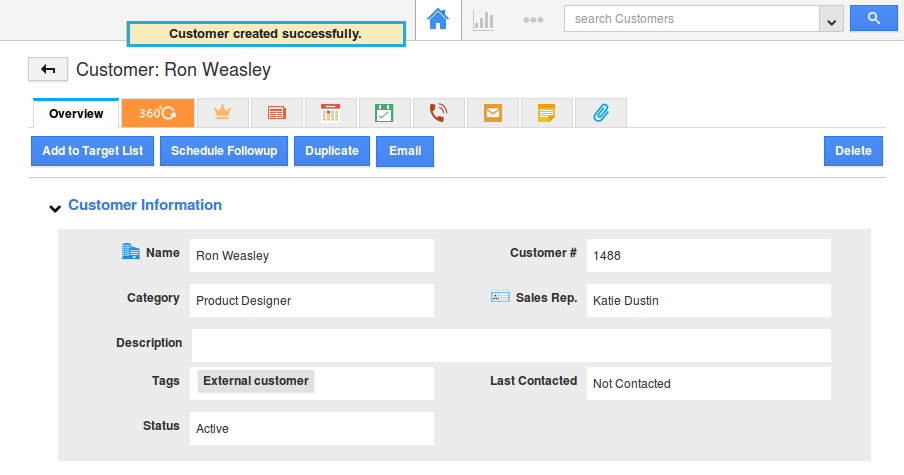
- Enter the required information to create a new customer record.
- Once, entered, hit on “Create” found at the bottom.
- After creating the record, the customer overview page will be displayed.
Create Contact for a Customer
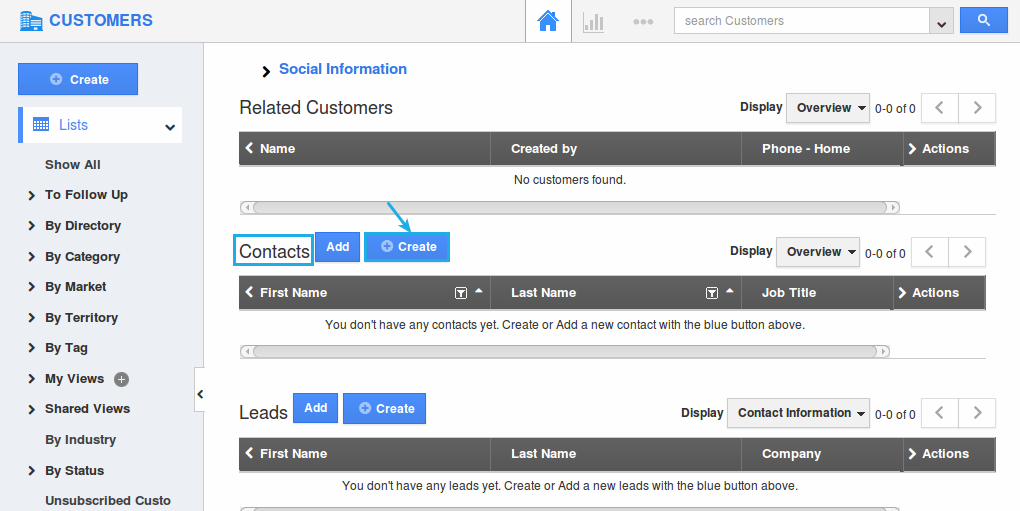
On the customer overview page, scroll down to view the “Contacts” section in which you can create a new contact record associated to the above created customer.
- Click on “Create” button.
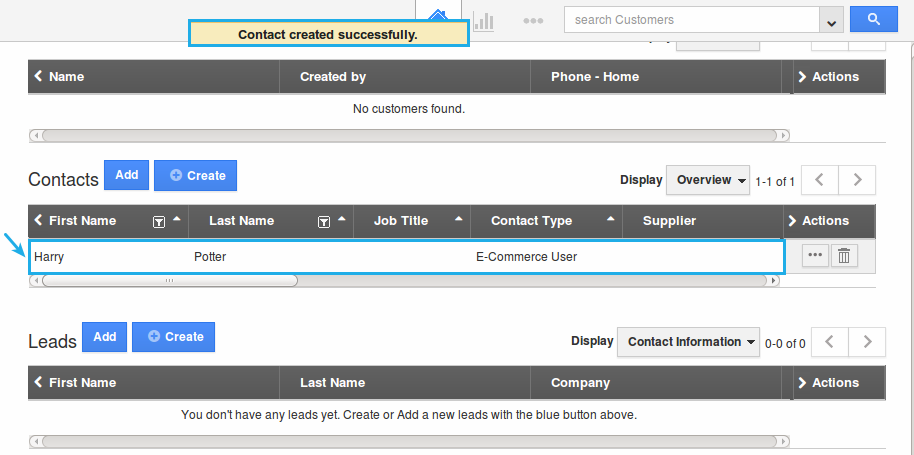
- Enter the contact basic details on the Create Contact page.
- The created contact will now be associated with the Customer.
Assigning Roles to Contact
The role assignment allows the contact record to access the invoices portal.
- Go to Contacts App, click on “More (...)” icon -> “Settings”.
- Go to "Security" -> “Actions” -> Turn on “Enable Login”. Ensure that the Disable Login is also enabled. If disable login is not enabled, then the App Access Privileges table will not come into view while enabling login for a contact.

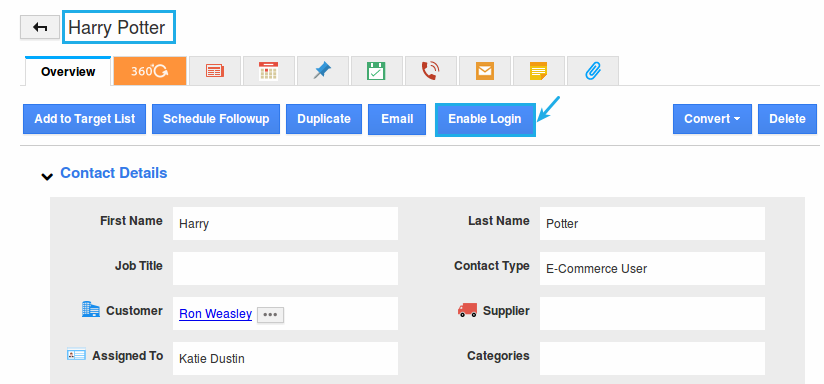
- Now, go to the created contact view page.
- Click on “Enable Login” button.
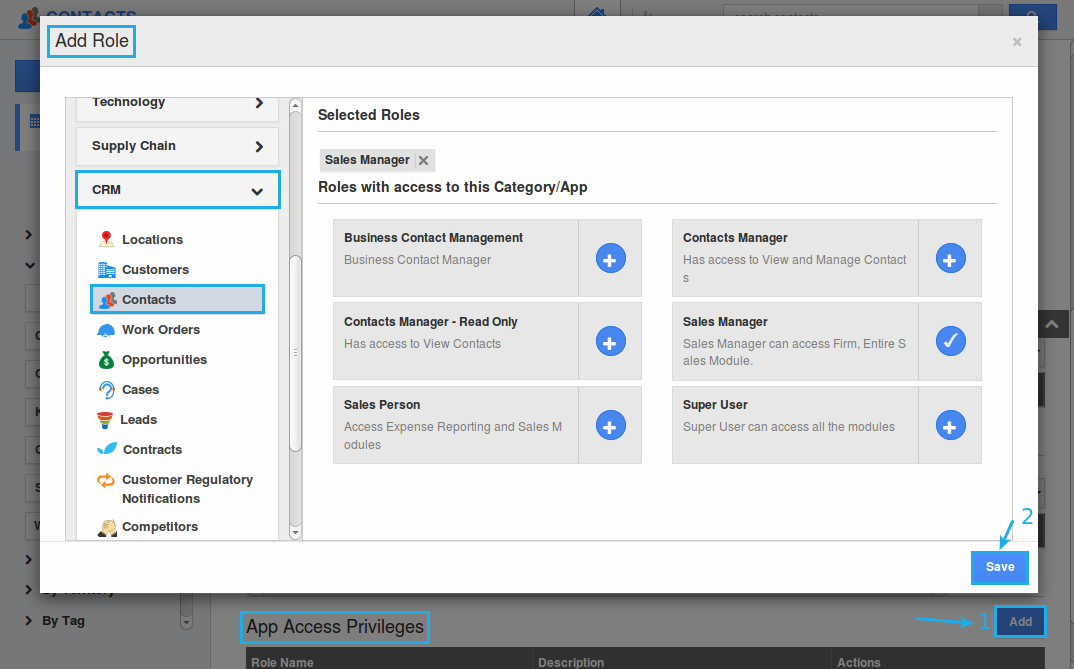
- Scroll down on the contact view page. You can now view the table named “App Access Privileges”.
- Roles can be added by this section.
Generate Portal
After providing roles to the customer’s contact, it is now time to generate your portal link which will be published to your invitees via email.
- Go to the Invoices App, click on “More (...)” icon -> “Settings”.
- Click on “Interfaces” -> “Portal URL” from the left navigation panel.
- You will view the default URL provided by Apptivo in combination with your firm name.
- You must select this URL and send to the customer’s contact manually via email.

- Slide the Toggle ON for the Automatic Access. Now select the privilege of what you would like the customer to have access to, in the invoices portal from the "Default customer portal role" drop down.

Inviting Contact
- Go to Contacts App, create a new contact or select an existing contact.
- Click on “Enable Login” action button and provide the access privilege.
- After enabling the login action for a contact, the contact email address would receive an email notification as shown in the image below, from which the contact must accept the invitation:

Customer Connection
Customer’s Contact Login
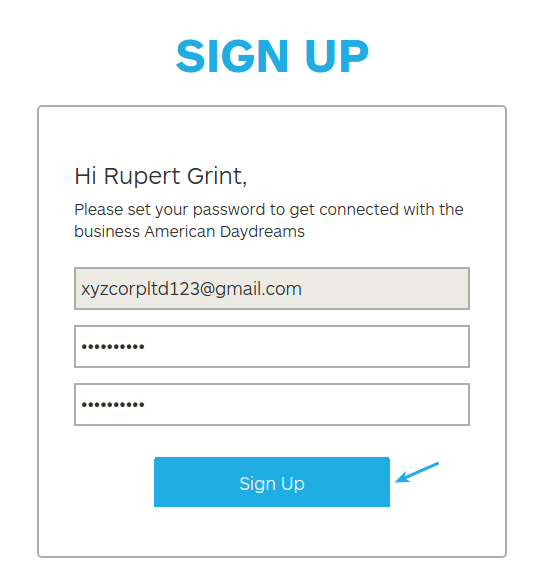
- The Customer’s Contact would create an account by providing a password.
Portal Dashboard
Contact must go back to his email and click on the link (i.e Portal URL sent by the Organisation). Contact will be redirected to login page to enter an email address and password.
The dashboard displays the invoices and cases associated with the contact’s customer. 
-
To view the detailed information, click on the “More (...)" details and perform further operations.

