Browse by Solutions
Browse by Solutions
How can I sync emails from multiple email accounts to my account in Apptivo?
Updated on November 21, 2016 10:22PM by Admin
Email Forwarding
Email forwarding generically refers to re-sending an email messages from one email address to apptivo. Email forwarding can also redirect mail going to one address and send it to one or several other addresses.
Steps to configure Email Forwarding
- Log in to your account and click on your name located at the top right corner of the header bar.

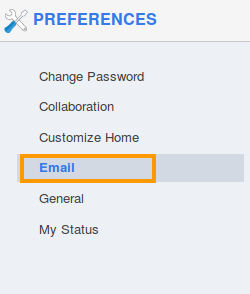
- Click on "Preferences" from the list. Select "Email" from left navigation panel.

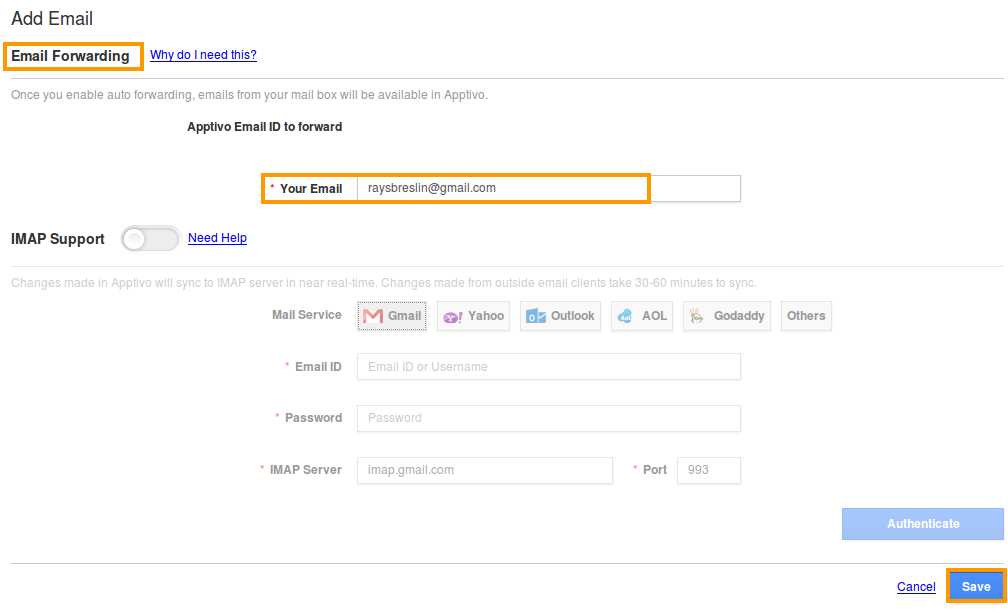
- Click on "Add" button and specify the "Email id" to forward.

- Finally click on "Save" button at the bottom.

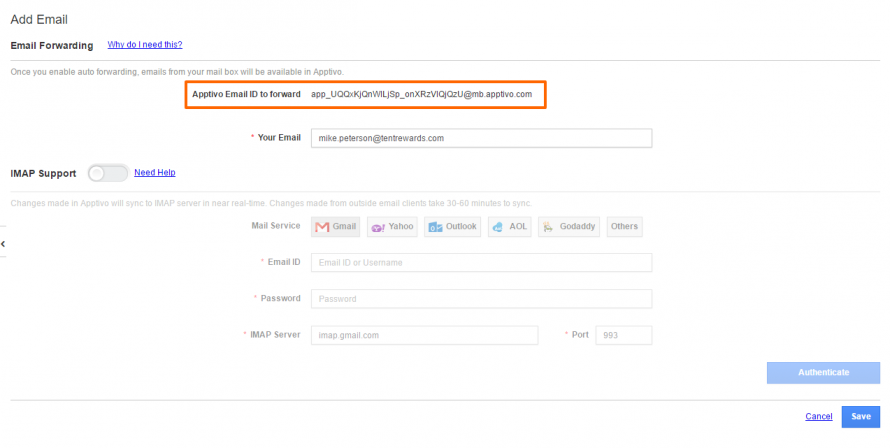
- Now get the generated forwarding code by "Edit" option and copy the code.

- Navigate to your account (Gmail, Outlook, Yahoo etc), click on "Settings" option.
- Copy the "Forward id" to your account. Now all your emails received from your account will be immediately collected into apptivo.
We’re excited to announce that email sync has now become even more dynamic. Apptivo IMAP integration now include support for multiple email accounts.Syncing your Apptivo account with multiple email domains or subdomains.
How do I sync emails from multiple domains or subdomains?
- Firstly, follow the email forwarding steps to multiple domain you would like to sync.
- Now, click on “Edit” button against the email forwarding you have created.
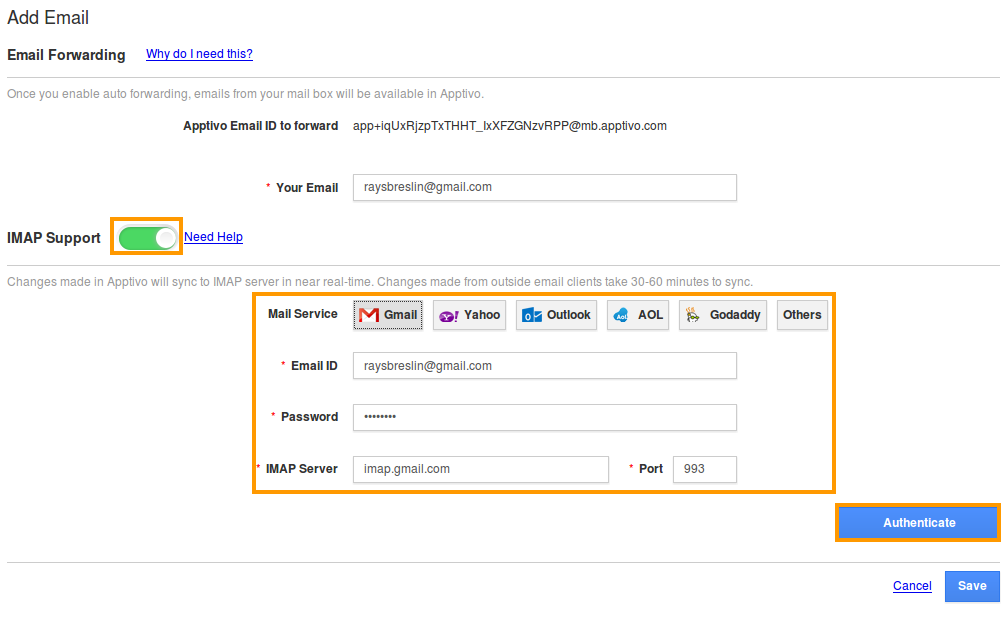
- Enable “IMAP Support” toggle and provide the following details:
- Mail Service - Choose the email server from the available option.
- Email Id - Provide the email id to authenticate.
- Password - Enter the password of your account.
- IMAP Server - Provide IMAP server name.
- Port - Enter the port number for your domain.

- Some crucial points to be followed when you are providing details for authentication, select the “Other's” mail service for your own domain. Then give correct details in “IMAP server” and “Port”, as these are base of authentication.
- Once completed the above steps, then Click on, “Authenticate” button. If you want to store your mail details, just click the “Save” button.
- After clicking the authentication tab, one pop up will appear it will display saying the authentication successful.
Note: Follow the above steps to authenticate your various domain with Apptivo. For instance if you have an email with a different domains like Office 365, Outlook, or a custom domain, you can make a imap setup to those account. Once you enabled the email forwarding and IMAP support, the mails will be collected into Apptivo email box.

