Employees App helps to create and maintain employees of your concern. You can also upload employee details in bulk with the help of “Import Employees”. This feature allows you to import your Employees’ information from your local drive, Google, and Office 365.
Gracy has started using Apptivo to manage her business. She already has a database of her Employees in her local drive. She wants to add that information to her Employees App of Apptivo. Instead of adding the information manually, she makes use of the Import feature to upload the data.
Steps to Import Employees from File
- Log in and access Employees App from your universal navigation menu bar.
- Click on the More icon and select the Import icon located at the app header bar.
- You will be redirected to the Import Page. Here, select CSV Imports from the left pane. Select Import to import a file.
- The first step is to choose the data. Here, select Browse to upload a file from your local.
- Once the file is browsed, select Next.
- In the Map Fields page, decide on the date format and Grouping attributes. If you want to skip the mandatory fields, enable the toggle.
- Map the fields added in your file with the relevant attributes of the Employees App. Select Import.
- In case of mandatory fields not having values, they are added to exceptions. If error records are added to exceptions, they will be ignored and available for download later.
- If you want, click on the "Add to exceptions and proceed" button or click on the Back button to include mandatory fields.
- The next step involves Validation where you have to go through four steps to get your file uploaded.
You will view four validation steps:
- Mandatory Values - Validates mandatory value association.
- Data Format – Validates data format issues in CSV.
- Duplicates – Validates duplicates in CSV.
- Reference data – Validates the association of other objects. This will associate existing objects, if there are new objects found in CSV, you are allowed to create new objects.
- Click on the "Proceed" button for each step.
- Once the Reference data step is completed, click on the Proceed button to import records.
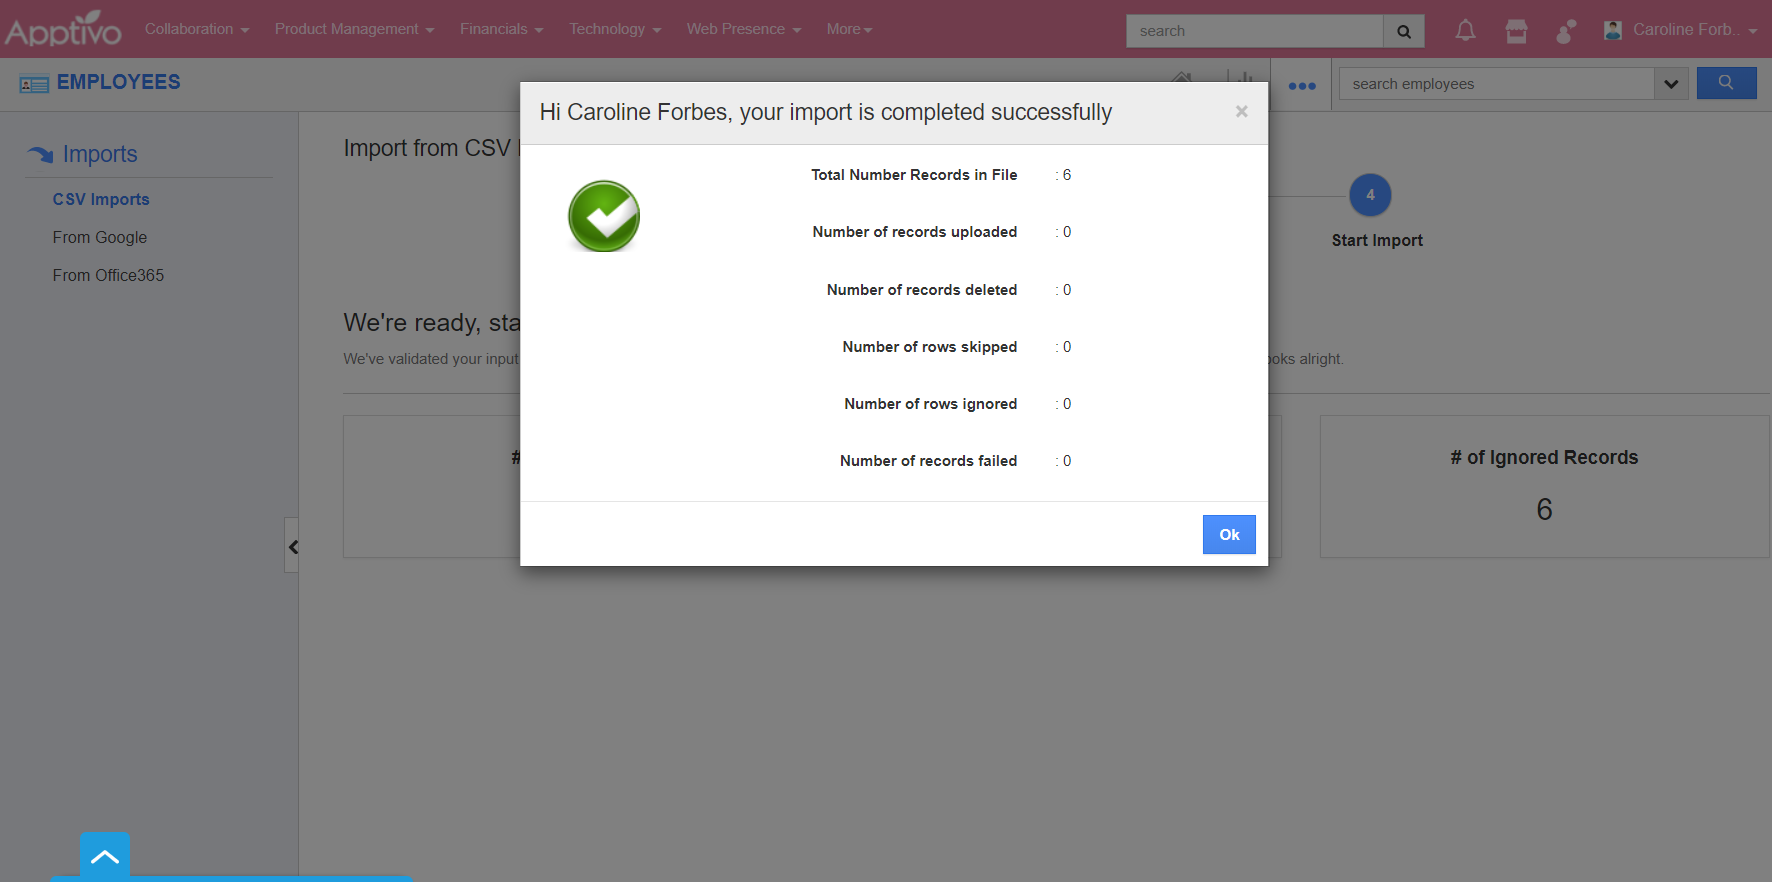
- Now, the system will display the number of records present, deleted, and ignored.
- Once the import is complete, you will receive a notification on the number of records imported. Click Ok.
- The completed CSV file will be listed as shown in the image below, from where you will download the records using "Down arrow" icon found next to the columns(Total Records, Ignored Records, Failed Records)


