Browse by Solutions
Browse by Solutions
How to remove associated Opportunities section from contacts overview page?
Updated on February 28, 2016 11:03PM by Admin
There was the same issue couldn't enter in to a ditch of work for drawing up a strategy. A pal offered that http://option-strategies.org internet site to select a proper technique and I have picked for themselves the ideal and efficient naybolee. I am hoping I helped you along with your problem. Thank you for attention)))
There was the same issue couldn't enter in to a ditch of work for drawing up a strategy. A pal offered that http://option-strategies.org internet site to select a proper technique and I have picked for themselves the ideal and efficient naybolee. I am hoping I helped you along with your problem. Thank you for attention)))
Associated Opportunities section allows you to add related opportunity directly into contacts overview page
Steps to Hide Opportunities Section
- Log in and access Contacts App from your universal navigation menu bar.
- Click on “More” icon and select “Settings” located at the app header bar.

- Click on “Associated Objects” from "Customize App" drop down from left navigation panel.
- Locate the “Opportunities on Contact Overview” option from associated objects page.

- Toggle off the option to remove from Contact’s Overview page.
Steps to Give Access Privilege to Opportunities Section
- Log in and access Contacts App from your universal navigation menu bar.
- Click on “More” icon and select “Settings” located at the app header bar.
- Click on “Associated Objects” from "Customize App" drop down from left navigation panel.
- Click "Opportunities on Contact Overview" and enable the toggle found at the right side.

- Click on "Privilege" drop down.
- Click on "Create Privilege" option as shown in the image below:

- Enter the privilege name and create it.
- Assign the privilege to the employee from Employees App.
Steps to Assign Privilege to the Employee
- Log in and access Employees App from your universal navigation menu bar.
- Click on “Settings” icon and select “Roles” from left navigation panel.
- Click on “Create” button and specify a “Role Name” as “General Security Role”.

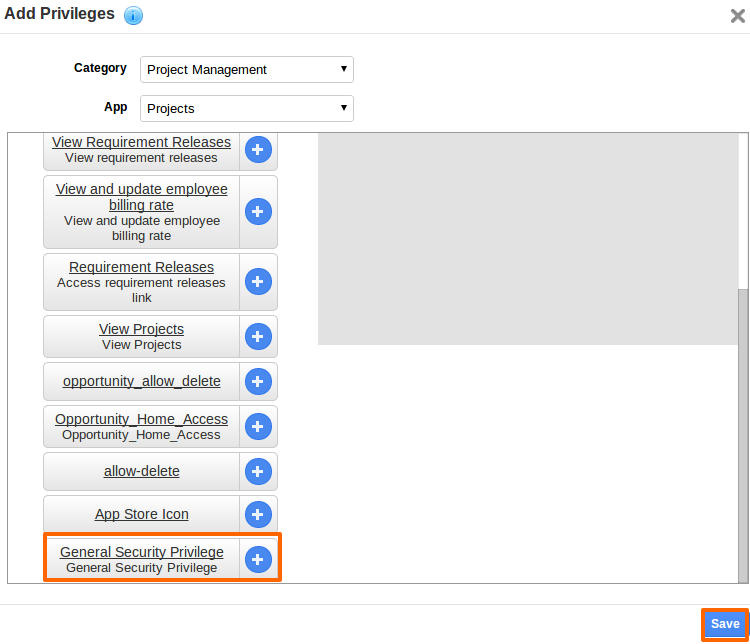
- The created privilege would display in all category apps.
- Select “General Security Privilege” and click on “Save” button to save privilege.
- Select an employee you would like to give access to that created record in the privilege.


